Integrating Metamask wallet using Flutter
Nowadays, people are crazy about crypto as people are getting insane profits in a few minutes of trading in cryptocurrency. All these trading requires a crypto wallet in order to trade. The core feature of a crypto-wallet is to store the private and public keys of a registered user in different manners.
When a user wants to do a transaction, either buying or sending cryptocurrency, the wallet with the account created by the user has a private key. The key authenticates the transaction and is used as a digital signature to pass through various servers.
What is Metamask?
MetaMask is a software and type of crypto wallet with all the basic features of transactions using private keys and adding stamps to the transaction with uniqueness. This helps to eliminate the stealing of currency in between transactions.
Metamask works as an accessibility and security layer for authentication of transactions to websites, where private keys work as data and browser extension to where users use it.
Hence, Metamask is a wallet that interacts with decentralized applications while browsing websites as they store different private keys. It also gives the service of working with different networks such as Ethereum and Binance smart networks.
Why is it needed?
A person, who has no idea how to send his tokens, will have to research how to push the link of his tokens to the server and then to the blockchain of computers.
So to overcome this, Metamask is here. With just a click of a button, users can interact with websites to do trading and even import tokens through Metamask from websites using authentication. Nothing can go from your Metmask wallet to any website without permission.
If a user wants to import his Ethereum tokens from his wallet in another application or a ledger, the user has to go through many decentralized applications on servers to get his tokens in his wallet. While Metamask has an advantage as the user can create multiple wallets and import wallets from anywhere to his Metamask account that users have in other applications.
Metamask also allows users to swap tokens from one currency to another with fewer fees in browser extension using details of contract address and change of slippage.
Moving forward, here we will integrate Metamask wallet using Flutter, where the programmer will add sufficient code to his application, and with the click of a button, the user connects his Metamask wallet account to the web application.
Steps for Metamask Wallet Integration in application
Add required packages
We need some packages to connect your wallet to your web application. Always remember to add the latest packages to your application with null safety.
Flutter_web3 - This package is made especially for developing DApp on cross(multiple) chains in Flutter Web.
Provider - We use this provider package to create a metamask provider function.
Clipboard - We will use this package to copy the address of the user's account.
Create Metamask provider file
After adding dependencies, create a new file inside your lib folder as metamask_provider.dart as shown below.
Let us add the code in the metamask provider for the Ethereum blockchain channel.
Now your app is ready for connecting to the metamask wallet, so let's create a button in main.dart file, which shows on the screen and connects your web application to the wallet.
Update the main.dart file
Before all this, the user should add the extension of the metamask wallet to his browser.
While the application is in debugging mode, it will show a blank screen because it will run in the guest mode of the Chrome browser by default. So the user should copy the link and paste it into the browser containing the extension of metamask wallet.
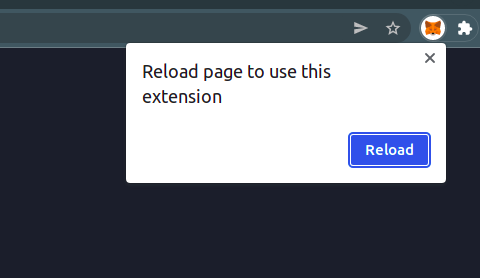
It will still show a blank screen. So go to the metamask wallet extension, and it will ask the user to reload the page.
Let’s begin with code.
Add code in the main.dart file using Consumer<MetamaskProvider>, inside which we will execute two conditions isConnected and isEnabled.
isEnabled :- this condition will show a button in the center of the screen.
Center(
               child: Consumer<MetaMaskProvider>(
                 builder: (context, provider, child) {
                   late final String text;
                   text = provider.account;
                   if (provider.isEnabled) {
                     return ElevatedButton(
                       onPressed: () =>    context.read<MetaMaskProvider>().connect(),
                       style: ElevatedButton.styleFrom(
                           shape: RoundedRectangleBorder(
                             borderRadius: BorderRadius.circular(25),
                           ),
                           primary: const Color.fromARGB(255, 19, 43, 98),
                           padding:
                               const EdgeInsets.symmetric(horizontal: 10)),
                       child: Row(
                         mainAxisAlignment: MainAxisAlignment.center,
                         crossAxisAlignment: CrossAxisAlignment.center,
                         mainAxisSize: MainAxisSize.min,
                         children: [
                           Padding(
                             padding:
                                 const EdgeInsets.symmetric(vertical: 10.0),
                             child: Image.asset(
                               "assets/images/MetaMask_Fox.png",
                               height: 30,
                               width: 40,
                             ),
                           ),
                           const Text(
                             "Connect Wallet",
                             style: TextStyle(
                               color: Colors.white60,
                               fontSize: 18,
                             ),
                           ),
                           const SizedBox(width: 10)
                         ],
                       ),
                     );
isConnected :- this condition will show the account address containing the container when the user connects his wallet account to his browser.
} else if (provider.isConnected) {
                     return Card(
                       shape: RoundedRectangleBorder(
                         side: const BorderSide(
                           color: Colors.white54,
                           width: 1,
                         ),
                         borderRadius: BorderRadius.circular(30),
                       ),
                       elevation: 15,
                       shadowColor: Colors.black,
                       color: const Color.fromARGB(255, 10, 17, 32),
                       child: Container(
                         padding: const EdgeInsets.only(left: 15, bottom: 15),
                         height: 270,
                         width: 400,
                         child: Column(
                           crossAxisAlignment: CrossAxisAlignment.start,
                           mainAxisAlignment: MainAxisAlignment.spaceEvenly,
                           children: [
                             const Text(
                               "Account",
                               style: TextStyle(
                                 color: Colors.white60,
                                 fontSize: 24,
                               ),
                             ),
At last it will return an else condition.
else {
                     const Text(
                       'Please use a Web3 supported browser.',
                       style: TextStyle(color: Colors.white),
                     );
                   }
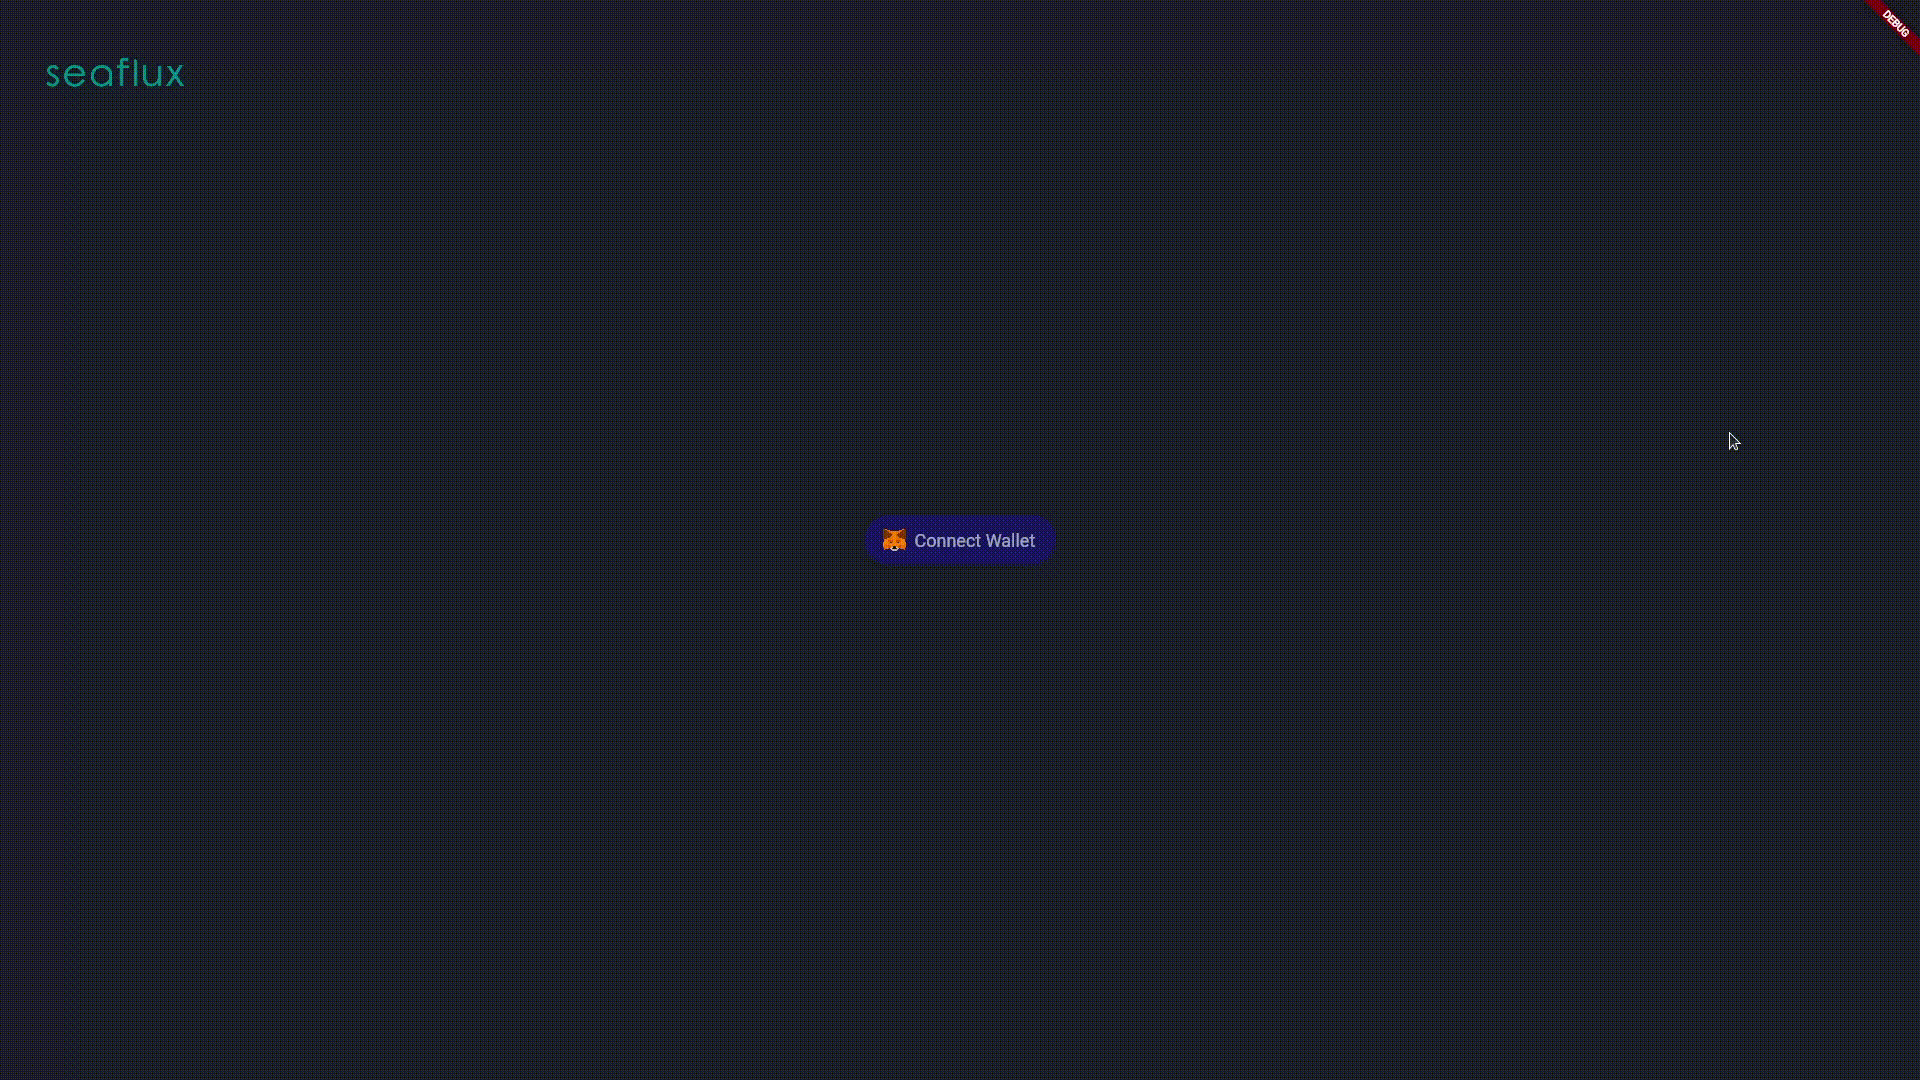
Now save your code and reload the browser. The user will see a button on the center of the screen, which means you are in the enabled state.
When the user presses the button, it integrates with the wallet. When you enter the password and permit to connect the wallet to the application, it shows a container with details of the account address of the user on the screen. This means the wallet is now connected to your application.
That container has the option to copy the address, which you can paste anywhere you want.
Run your application
Run your application in Chrome mode and add the link to the browser containing the extension of metamask wallet, and the output will be the following.
Conclusion
Now the developer can integrate the Metamask wallet into his web application. As for more references, you can check out the complete code on the GitHub repository.
If you’re looking to go even deeper into blockchain development, check out our guide on Learning Blockchain Programming and Proof of Work in Python. This tutorial explains blockchain fundamentals, proof-of-work mechanisms, and practical coding examples in Python—ideal for developers who want to strengthen their blockchain skills.
We, at Seaflux, are Blockchain enthusiasts who are helping enterprises worldwide. Have a query or want to discuss Blockchain projects? Schedule a meeting with us here, we'll be happy to talk to you!

Jay Mehta
Director of Engineering