Blue-Green Deployment in Azure Cloud. A Step-by-step Guide
Are you trying to deploy a new update to the production environment? However, are you afraid of the risks involved with downtime or buggy application?
This is when Blue-Green Deployment comes to the rescue by providing a smooth transition to the new update. To understand how it is done, let us go through the blog, where we'll see what Blue-Green Deployment is, and how it can be done in the Azure cloud with a step-by-step guide.
What is Blue-Green Deployment?

Blue-Green Deployment is a technique of running two applications, that are identical, in the production environment to reduce the risk of application downtime. Here, Blue deployment is the current version of an application, and green is the next/new version to be launched.
Let us understand this by example. Suppose the current application version is 1.0 (Blue Deployment), and the future version/new version is 2.0 (Green Deployment). Right now, multiple users are using version 1.0, however, the new version is to be deployed in the production environment, and don’t want to give any downtime to the users. So to start the process, we would redirect a few users to the Green Deployment. Once it is confirmed that the new version can perform and sustain the traffic without any bugs or lag, we can redirect all users to the Green Deployment in a controlled manner.
Before starting with the Azure Blue-Green deployment, look at the following resources required for the whole process.
- Virtual Machine: is an azure service that connects you with your machine.
- Azure Database for PostgreSQL Flexi server: is hosted in a Linux-based Virtual machine that aligns with the Postgres engine architecture.
- Resource Group: holds related resources in Azure.
- V-net: represent your network
- Traffic Manager: This allows you to distribute public-facing applications in different regions in azure.
- Load balancer: provides high availability by distributing incoming traffic among healthy VMs.
There are two sets for the deployment. The first set is Blue Deployment which is your current version, and the other set is your Green deployment which is your next version of your application. Using the two different sets simultaneously helps to revert the application to the old version (Blue Deployment) if the new version (Green Deployment) cannot handle network traffic. For both sets, we have connected to the same database.
Now, we would be creating the load balancers for Blue and Green Deployments. While deploying the load balancer, attach the IP Address in the frontend pool and add the Virtual Machine to the backend pool (This step applies for both Blue and Green Deployment).
The question here is how we would know if the new version (Green Deployment) is ready for handling network traffic as expected?
We would be creating a weighted Traffic manager and attaching both load balancers to the traffic manager. Add 90% traffic to the Blue Deployment (current version) and 10% to the Green Deployment (new version) and send some user traffic requests to the traffic manager. If the output is as per the defined parameters, we can add 100% traffic to the Green Deployment.
Configuration of Blue-Green Deployment in azure cloud
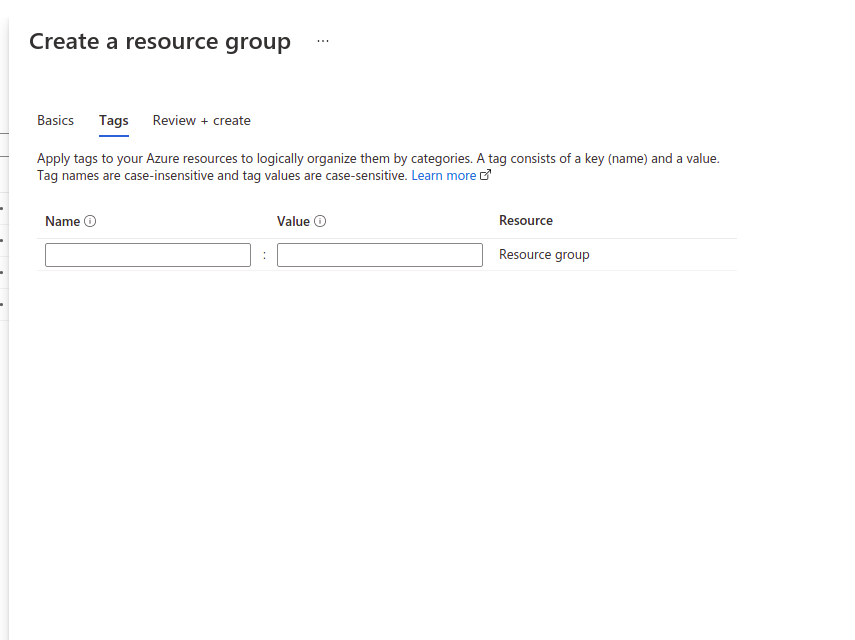
How to create a Resource Group.
1. Log in to portal.azure.com, go to the resource group and click on Create a Resource Group.
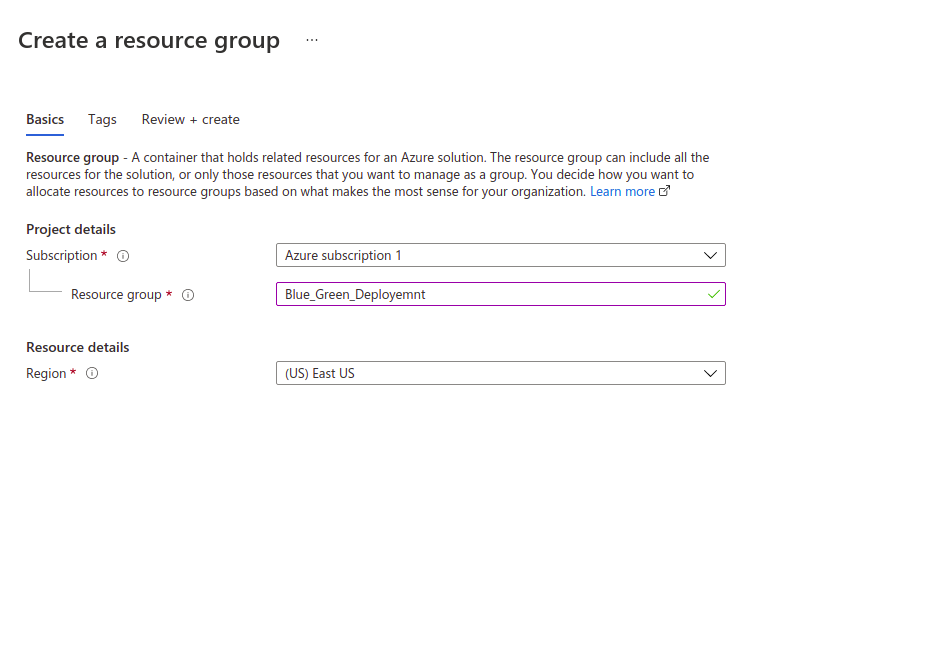
2. Click on Create.
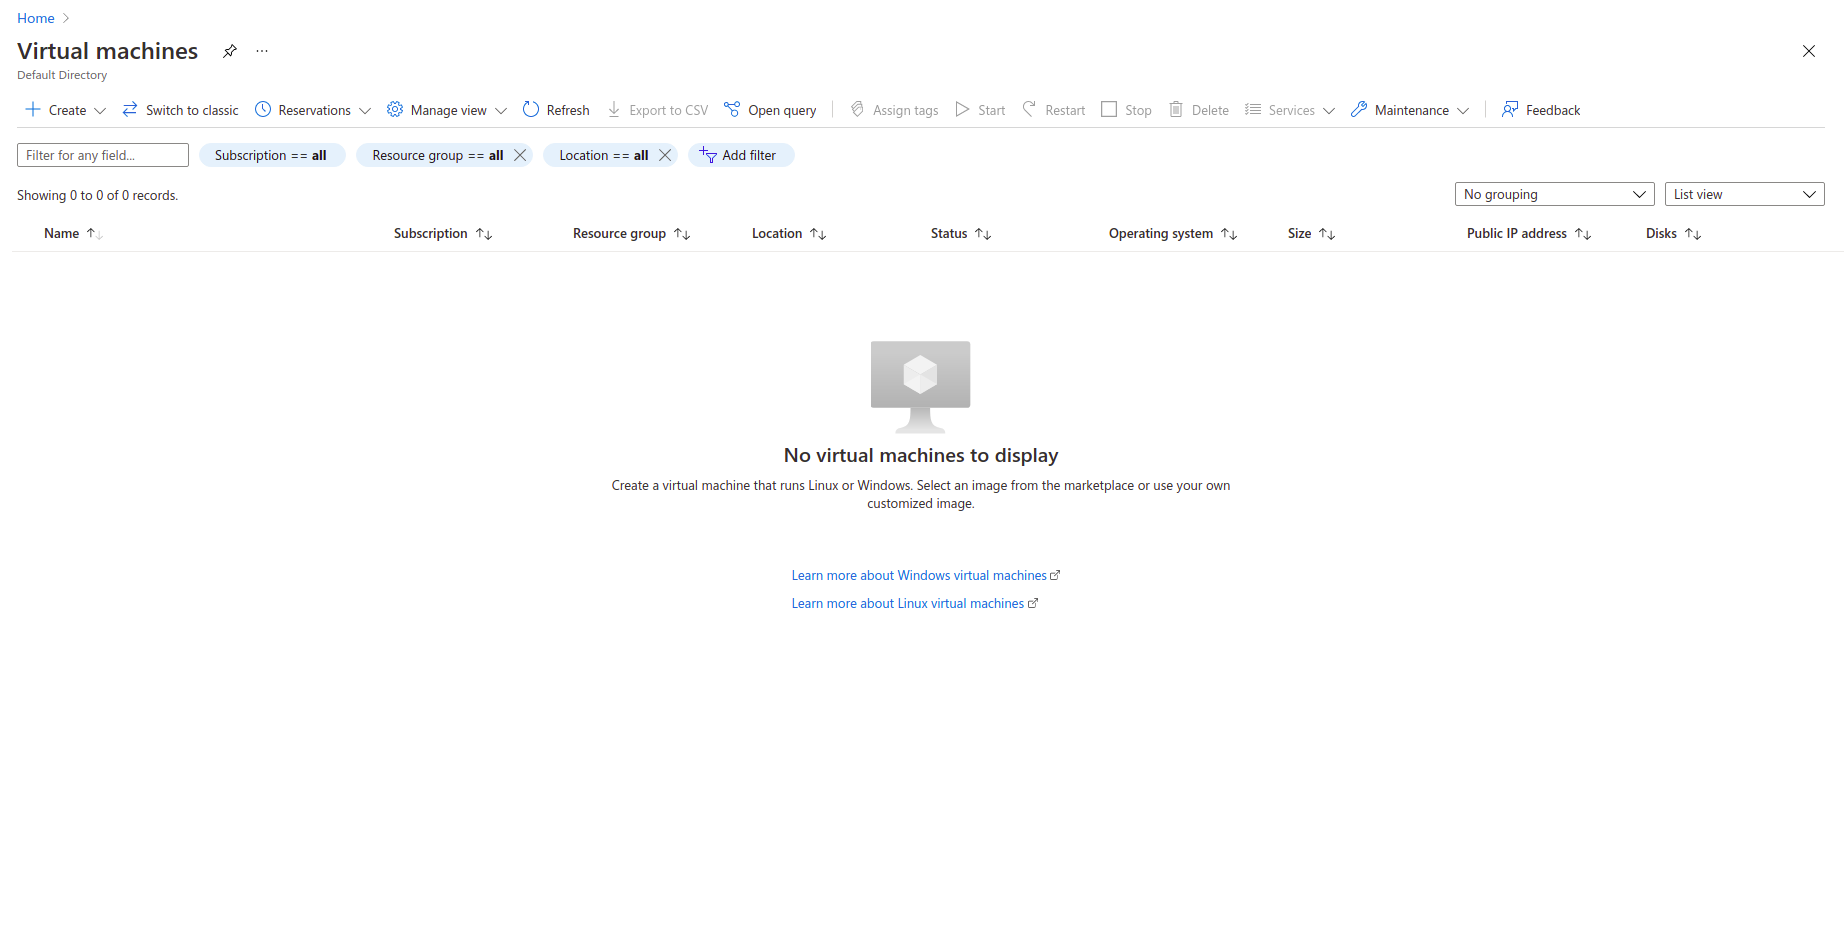
How to create Virtual Machine
Note: There are the same steps for deploying a Green deployment virtual machine.
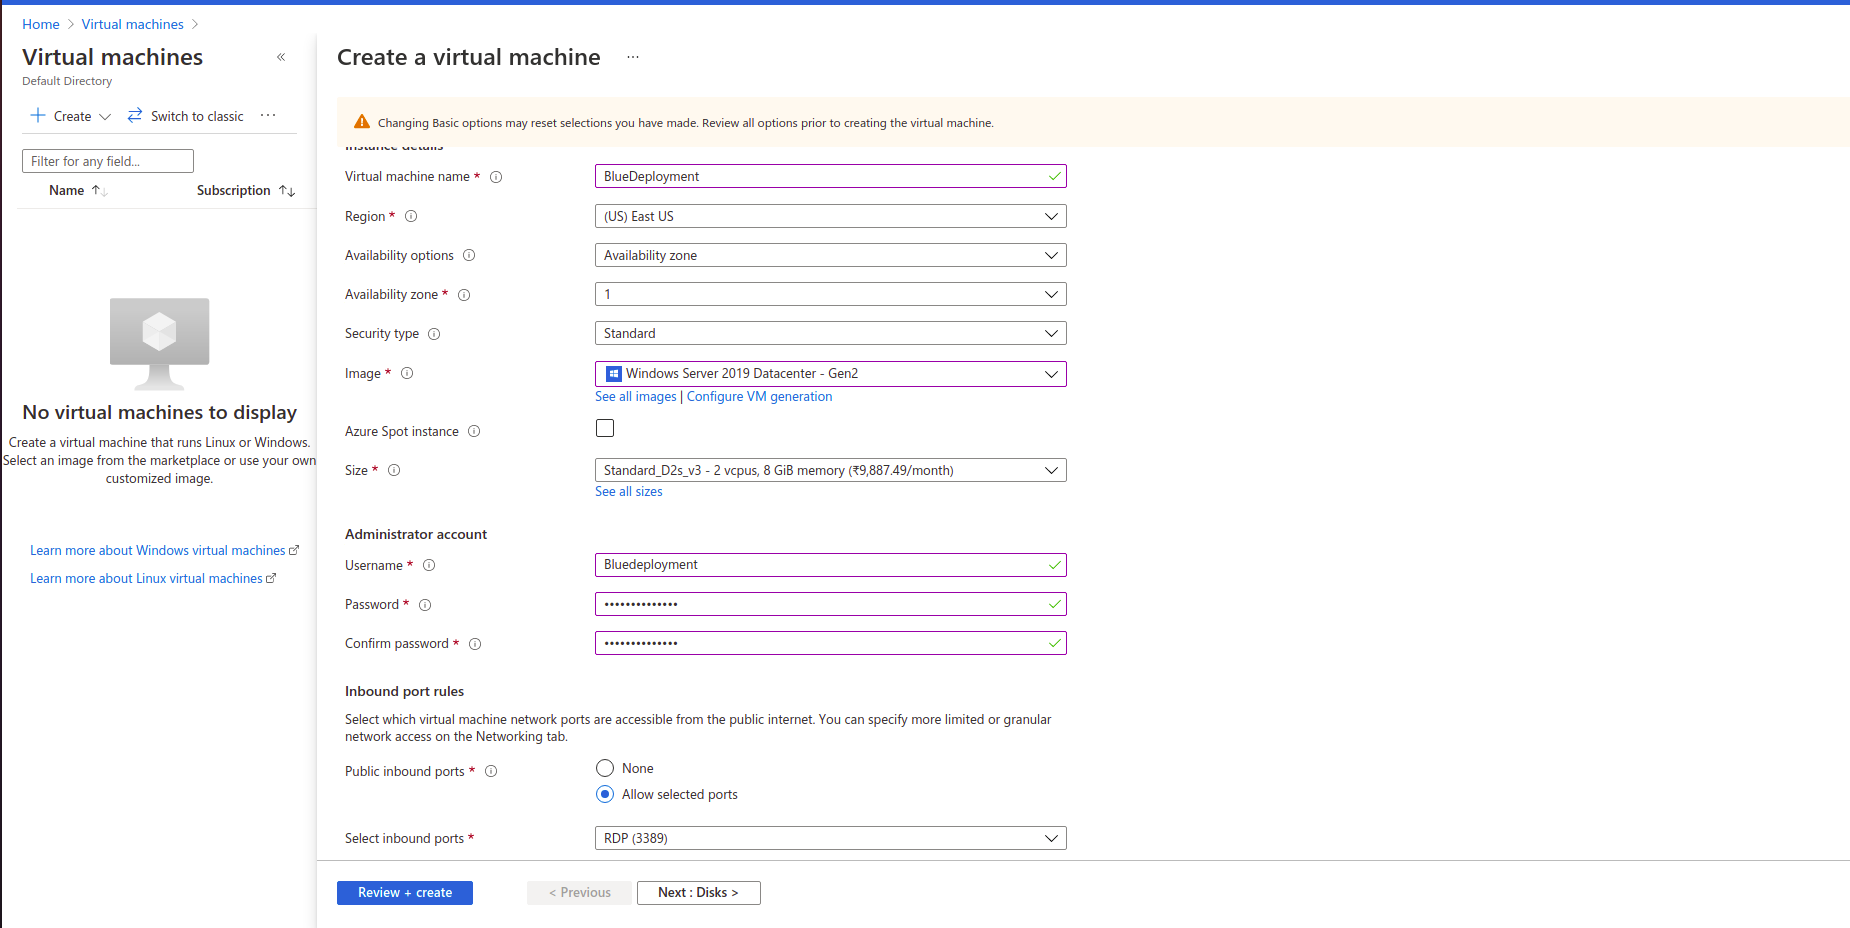
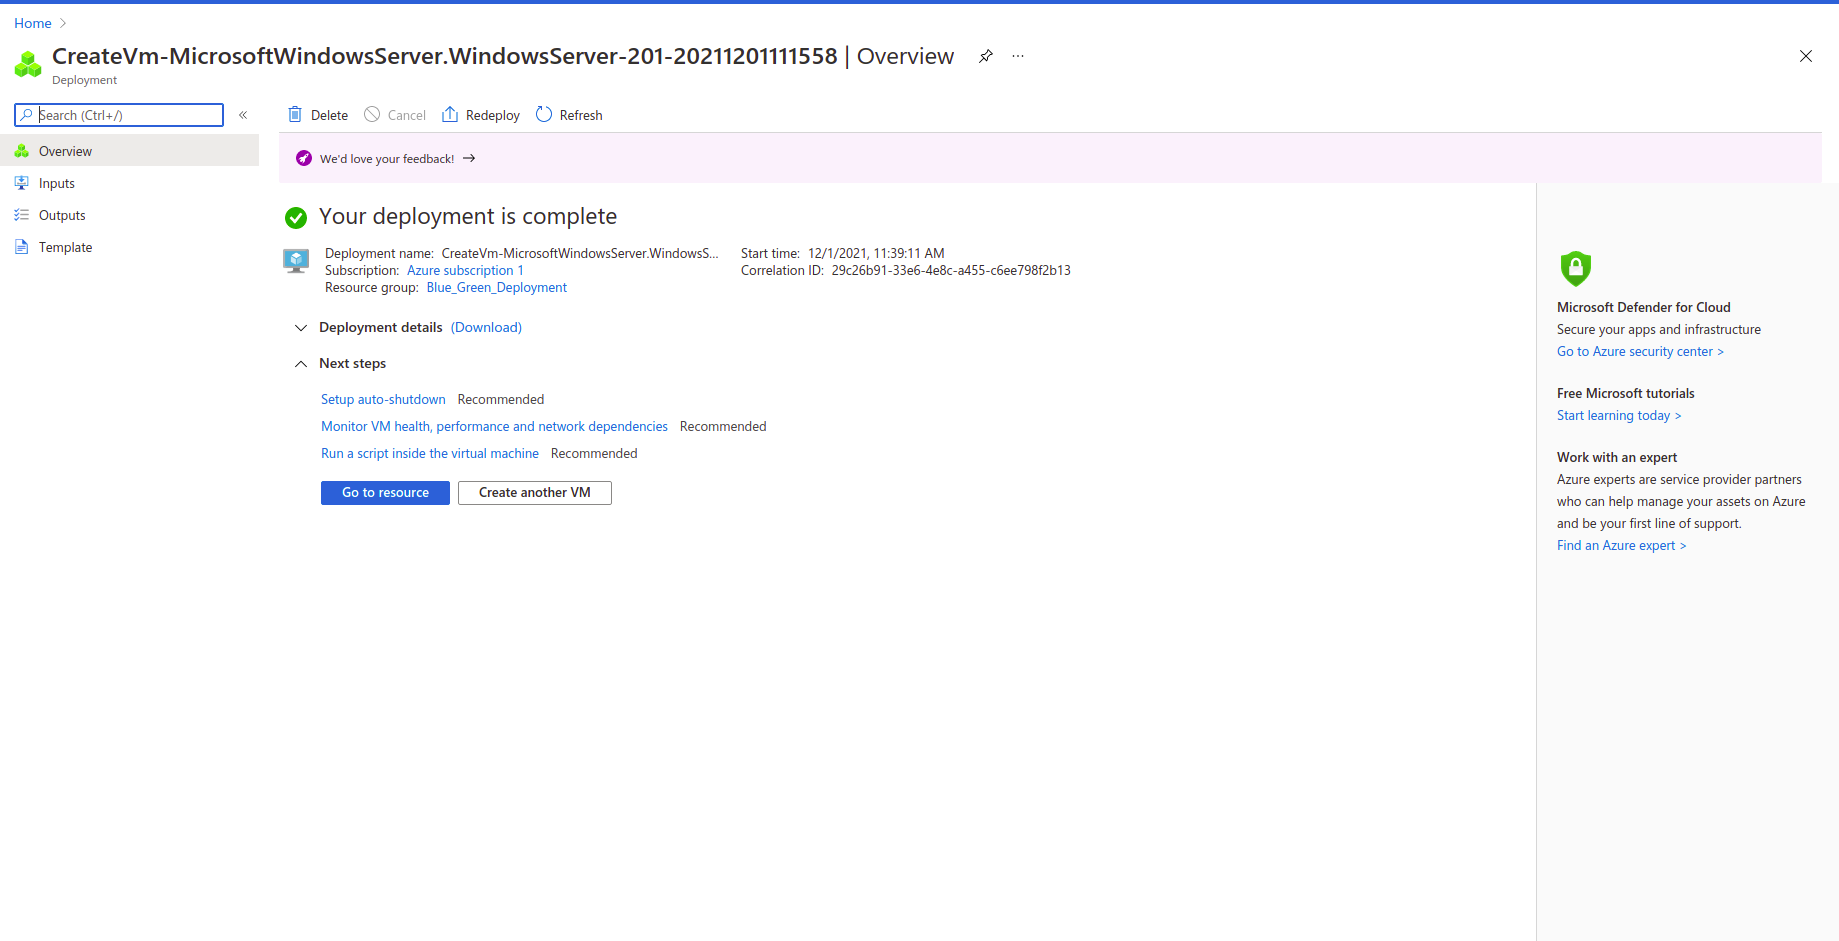
1. Go to the Virtual Machines and click on Create.
2. Add details according to your requirement.
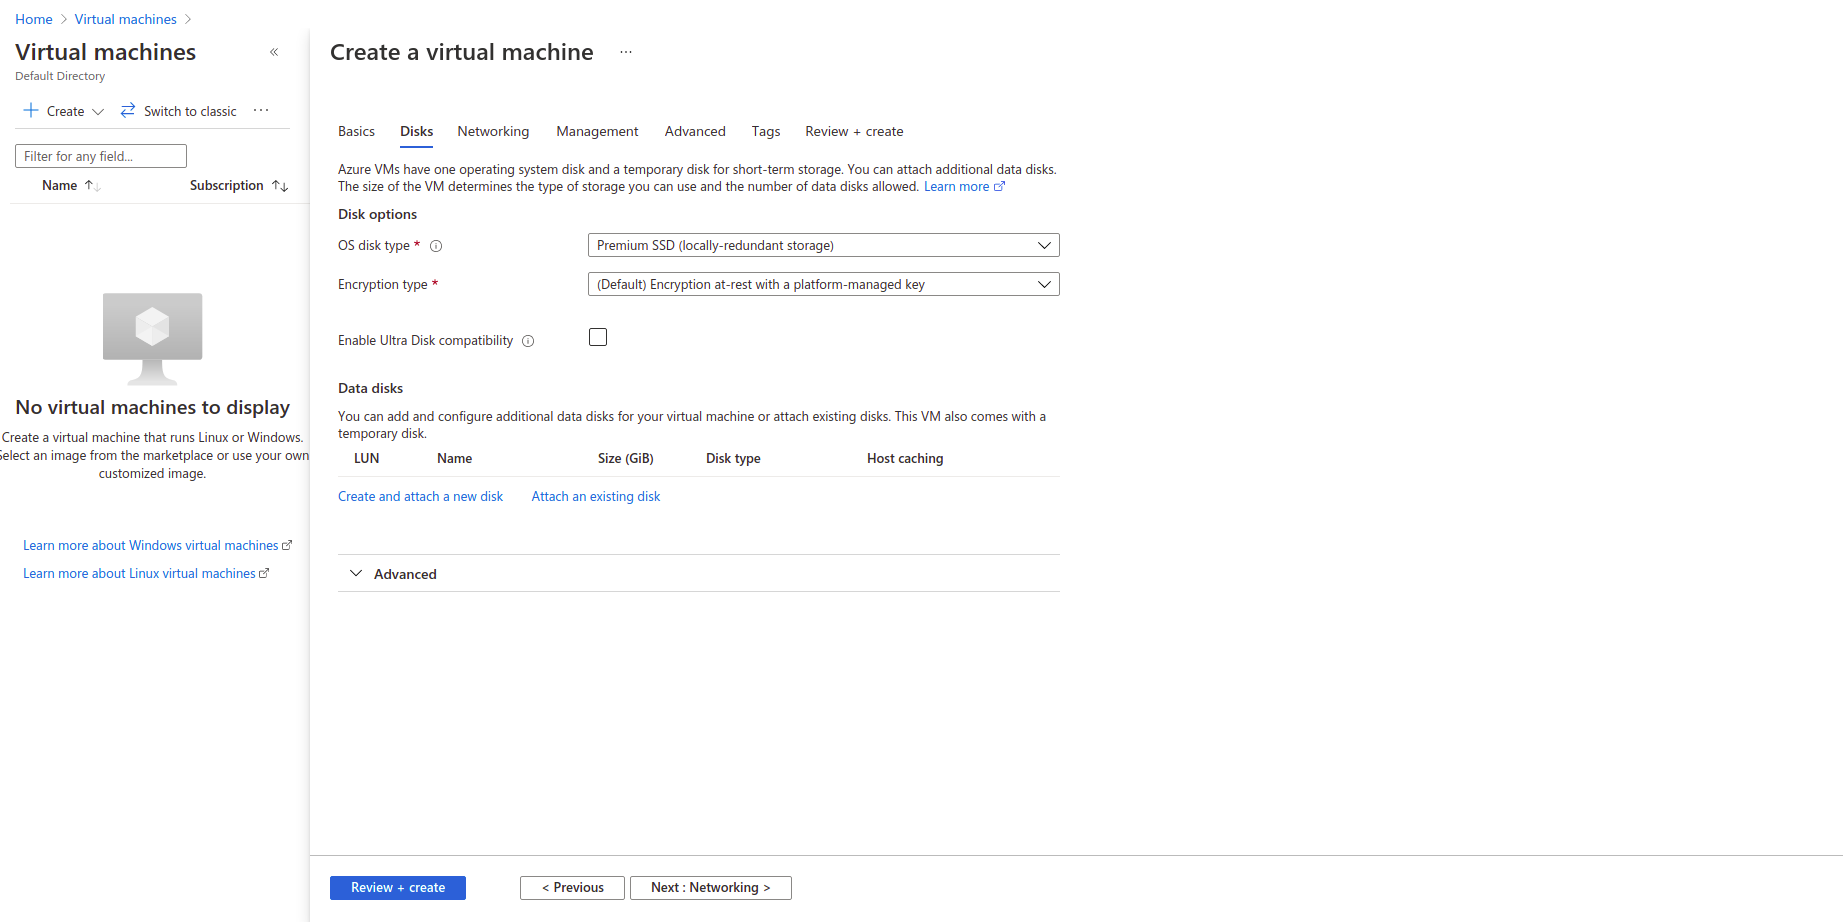
3. Select Storage type and click on Next.
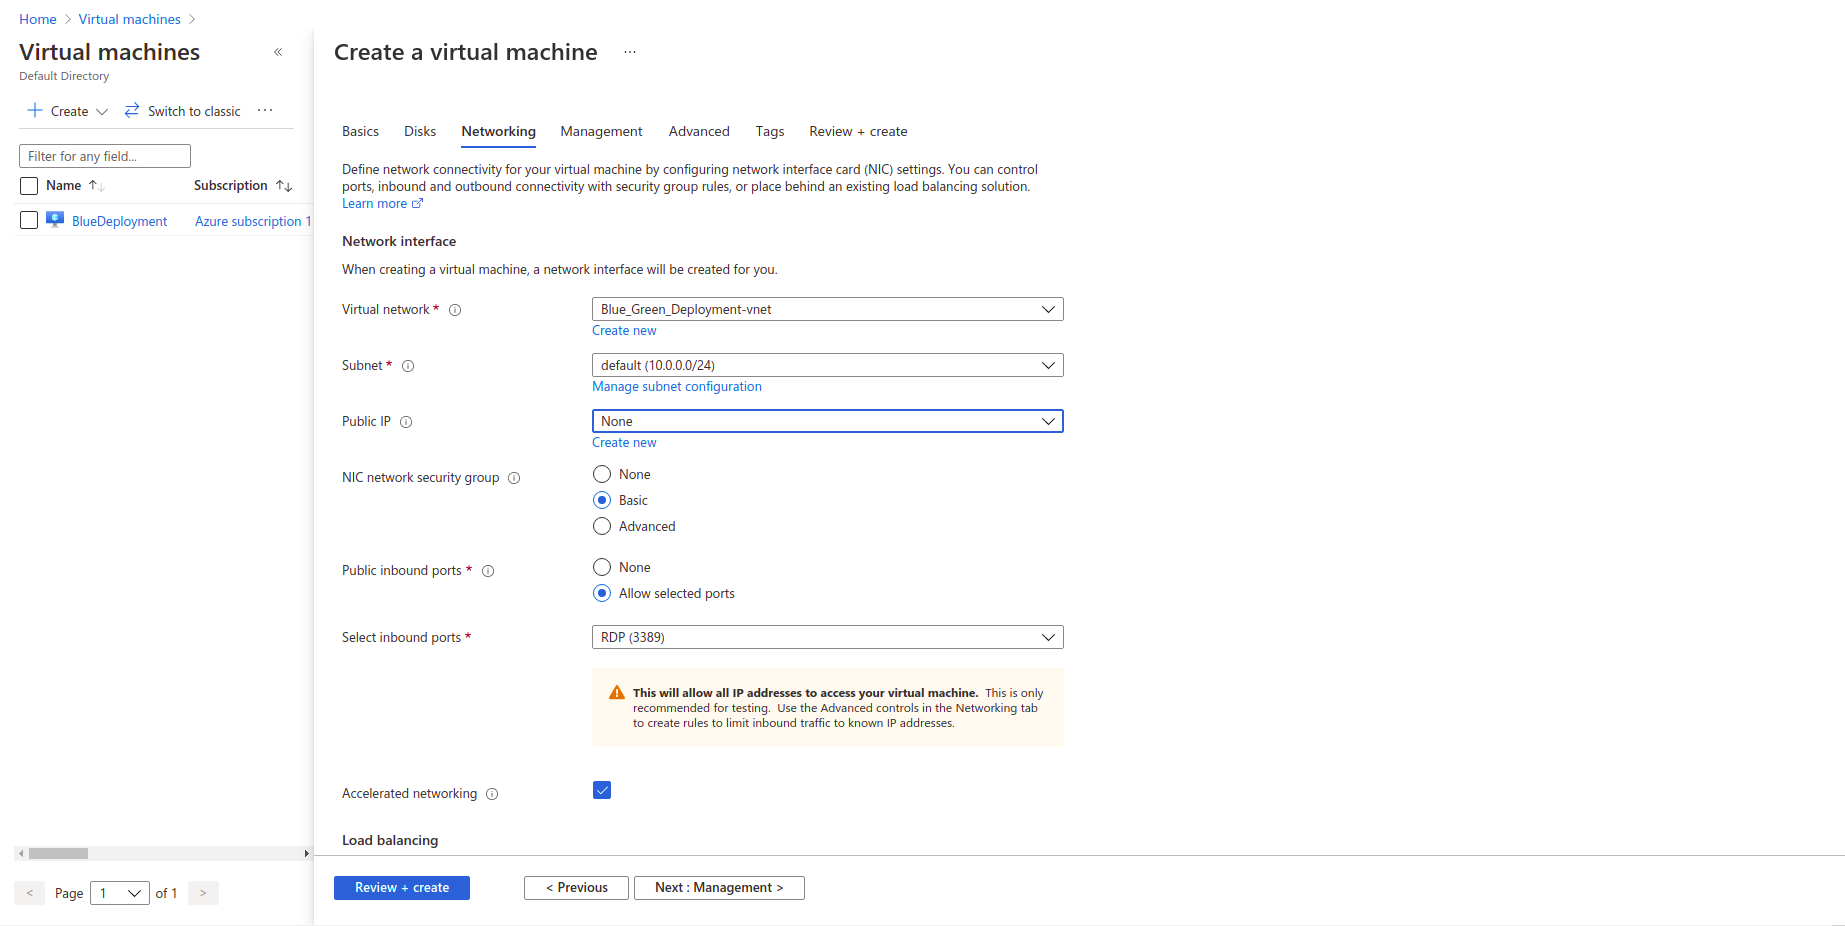
4. Enter networking details and select public IP as none.
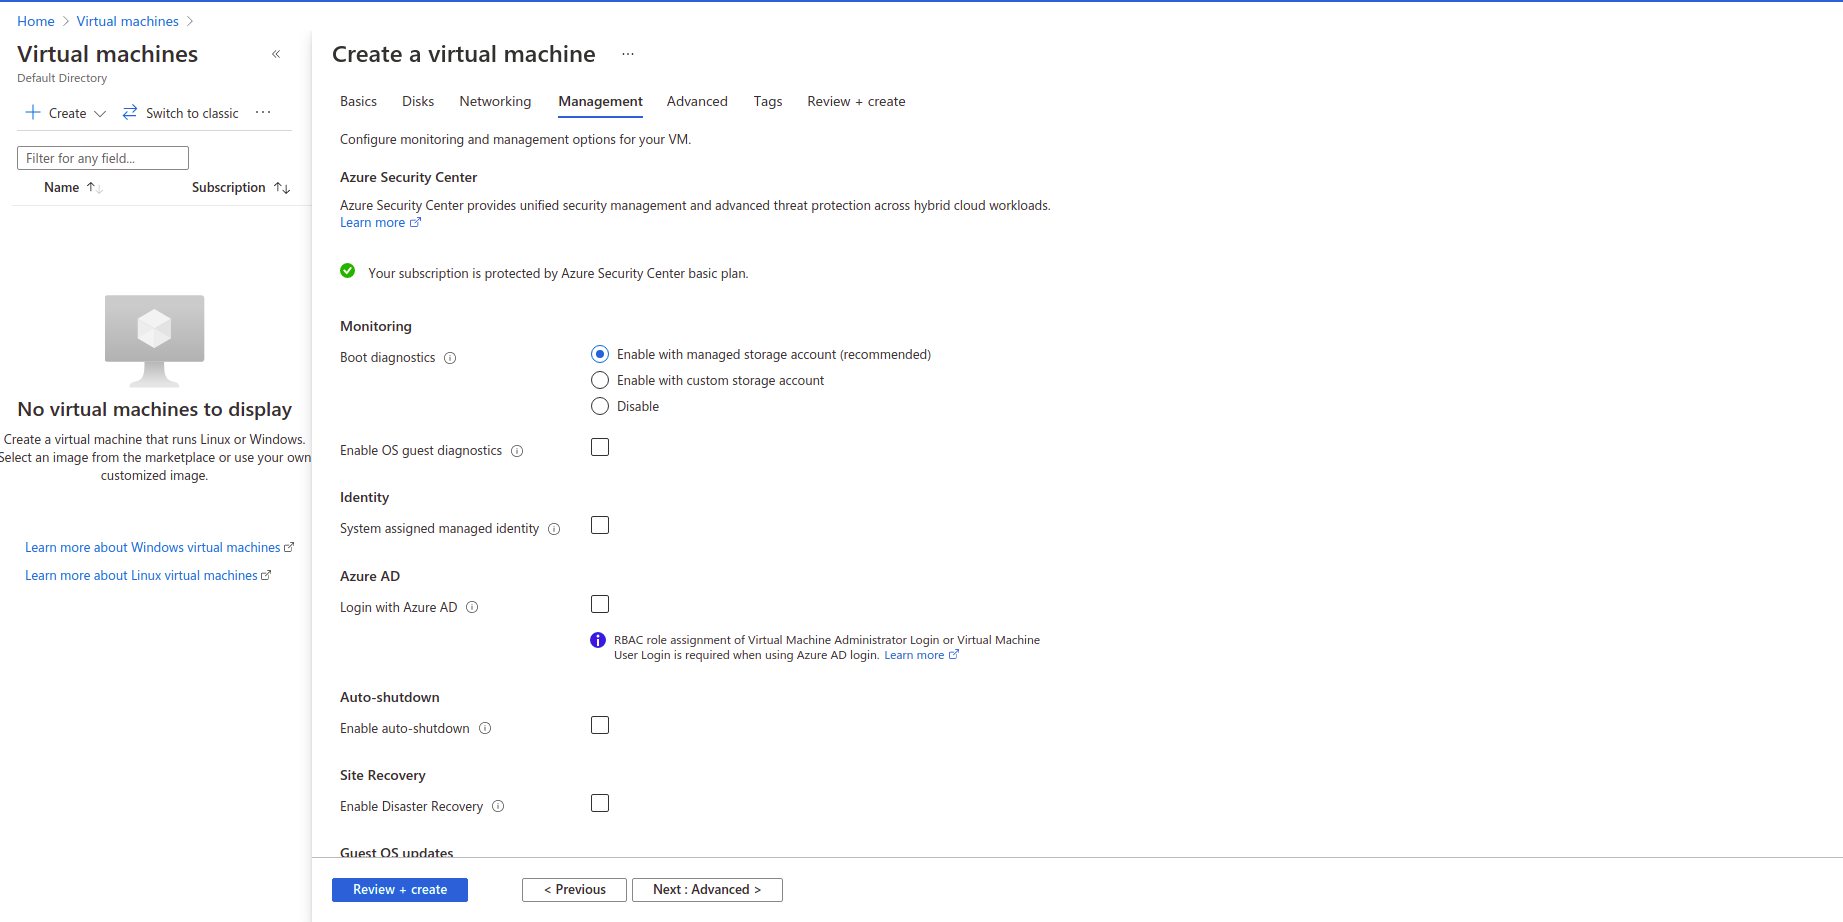
5. Set management to fulfill your requirement and click on Next.
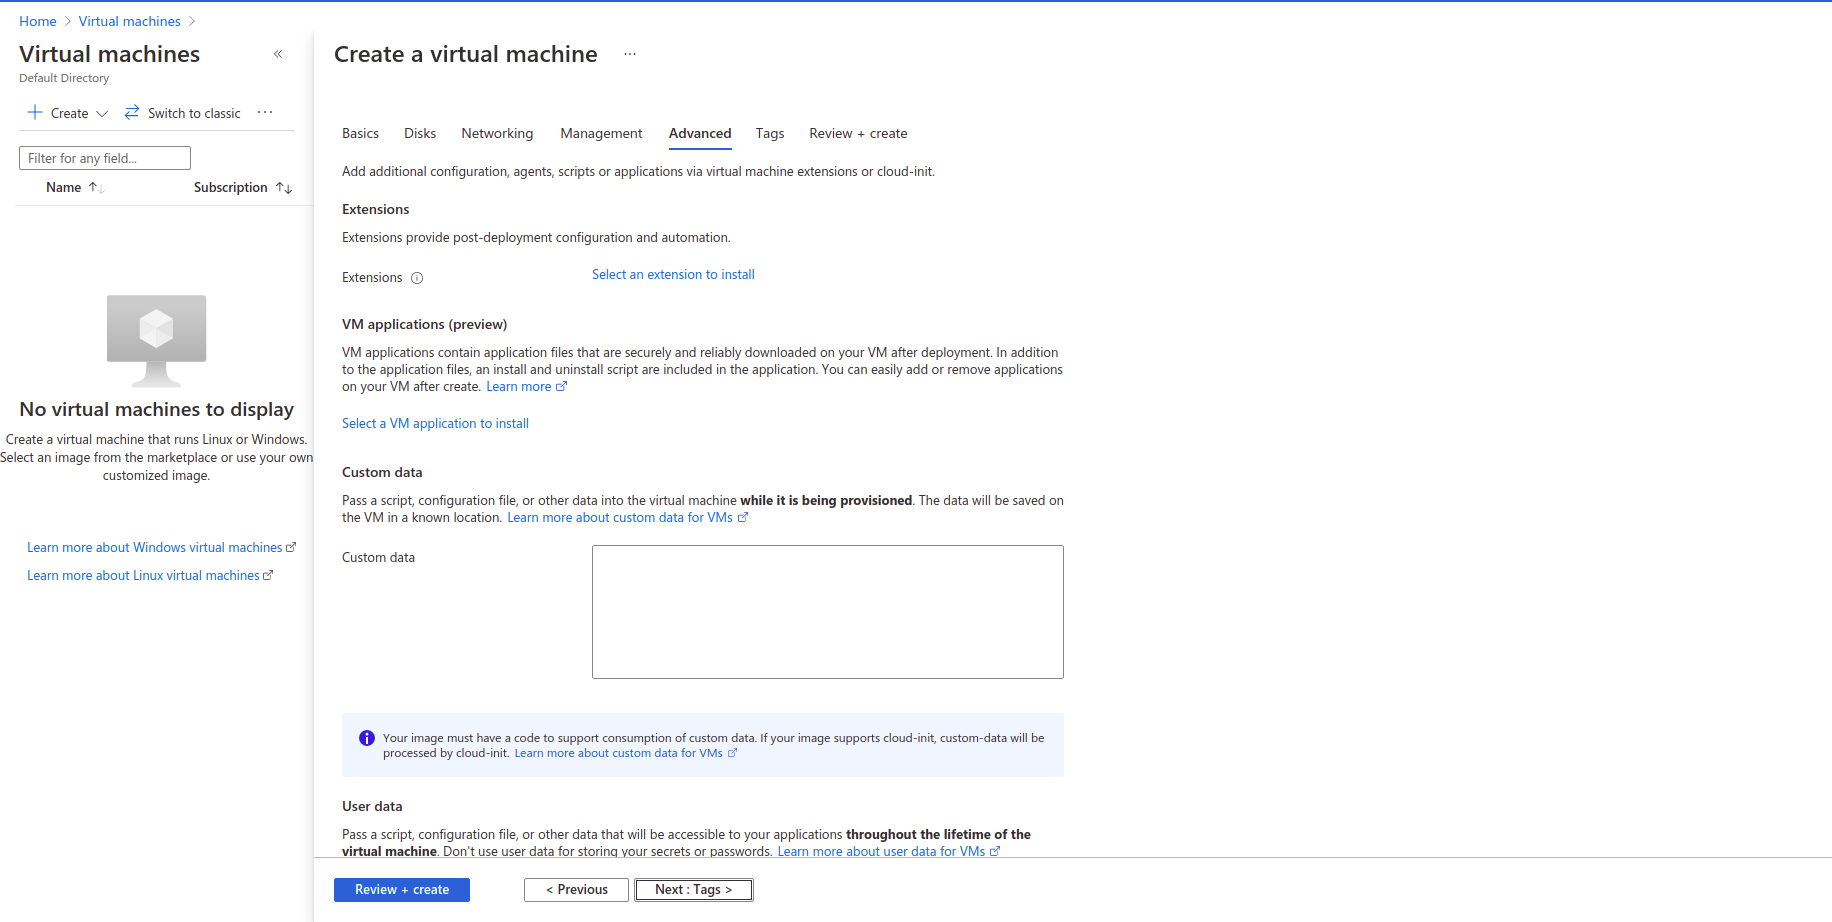
6. Set advanced settings as it fulfills your requirement.
7. Add tags (optional) and create your Virtual Machine
How to create Azure Database for PostgreSQL flexible servers
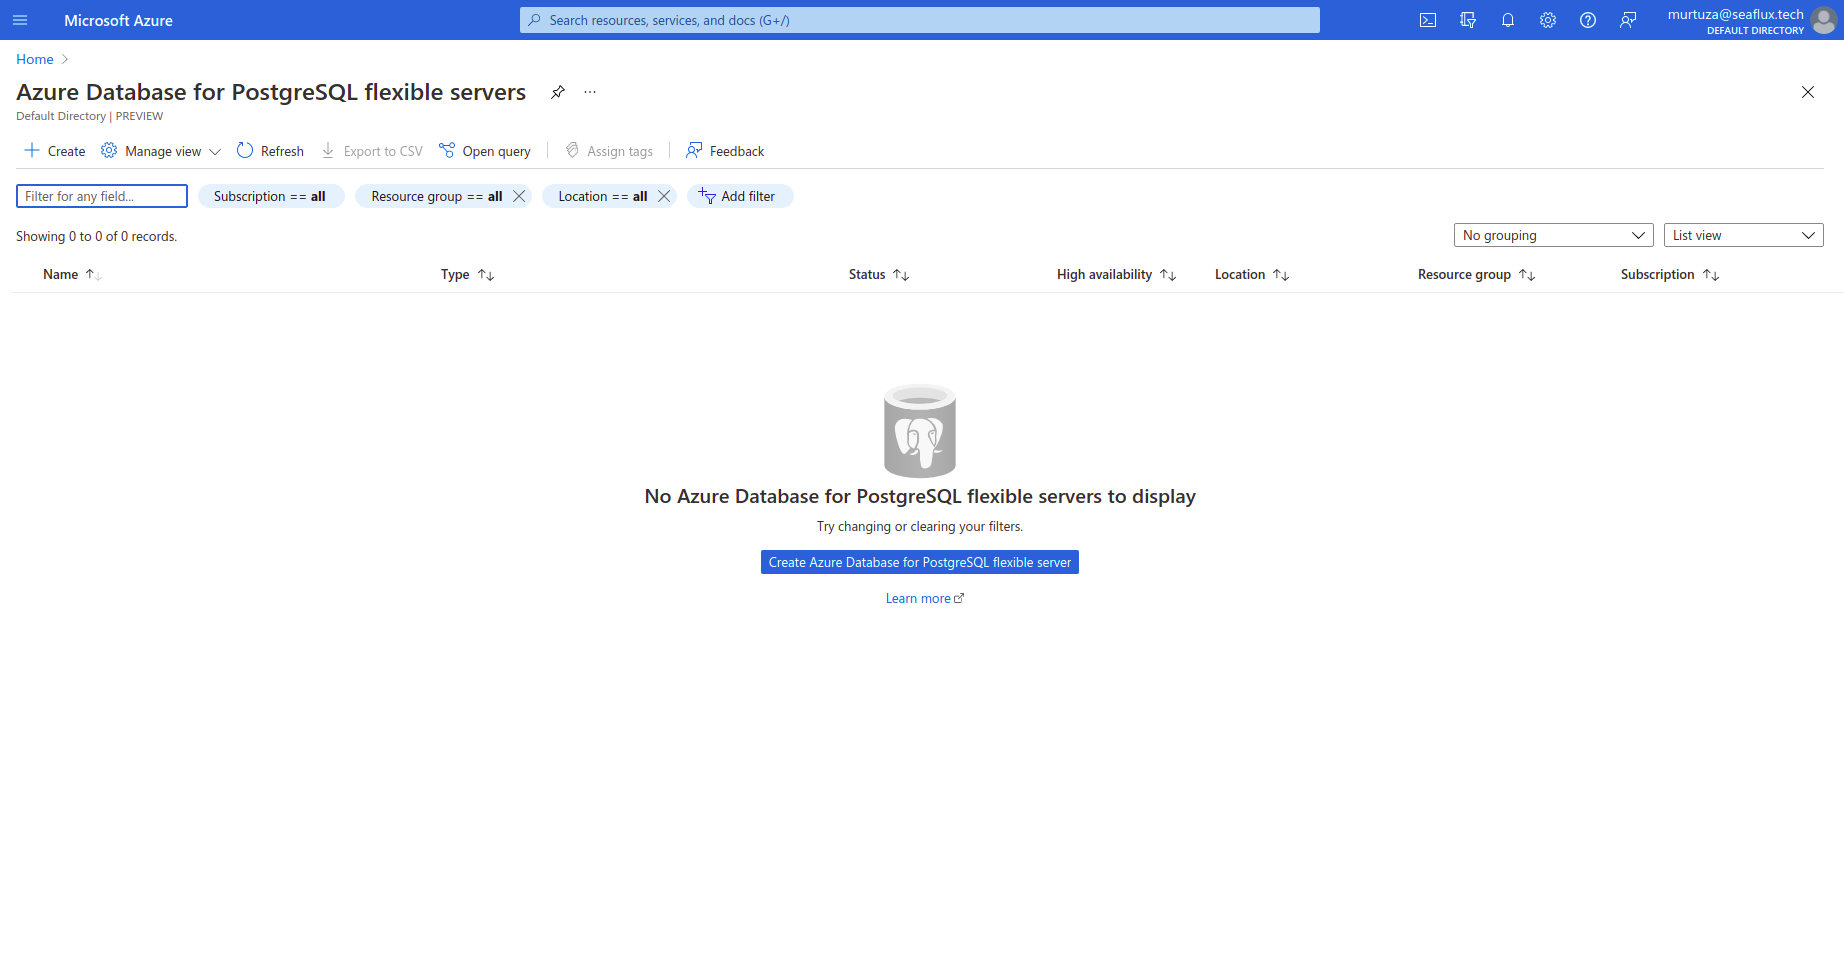
1. Open Azure database for PostgreSQL flexible servers and click on Create
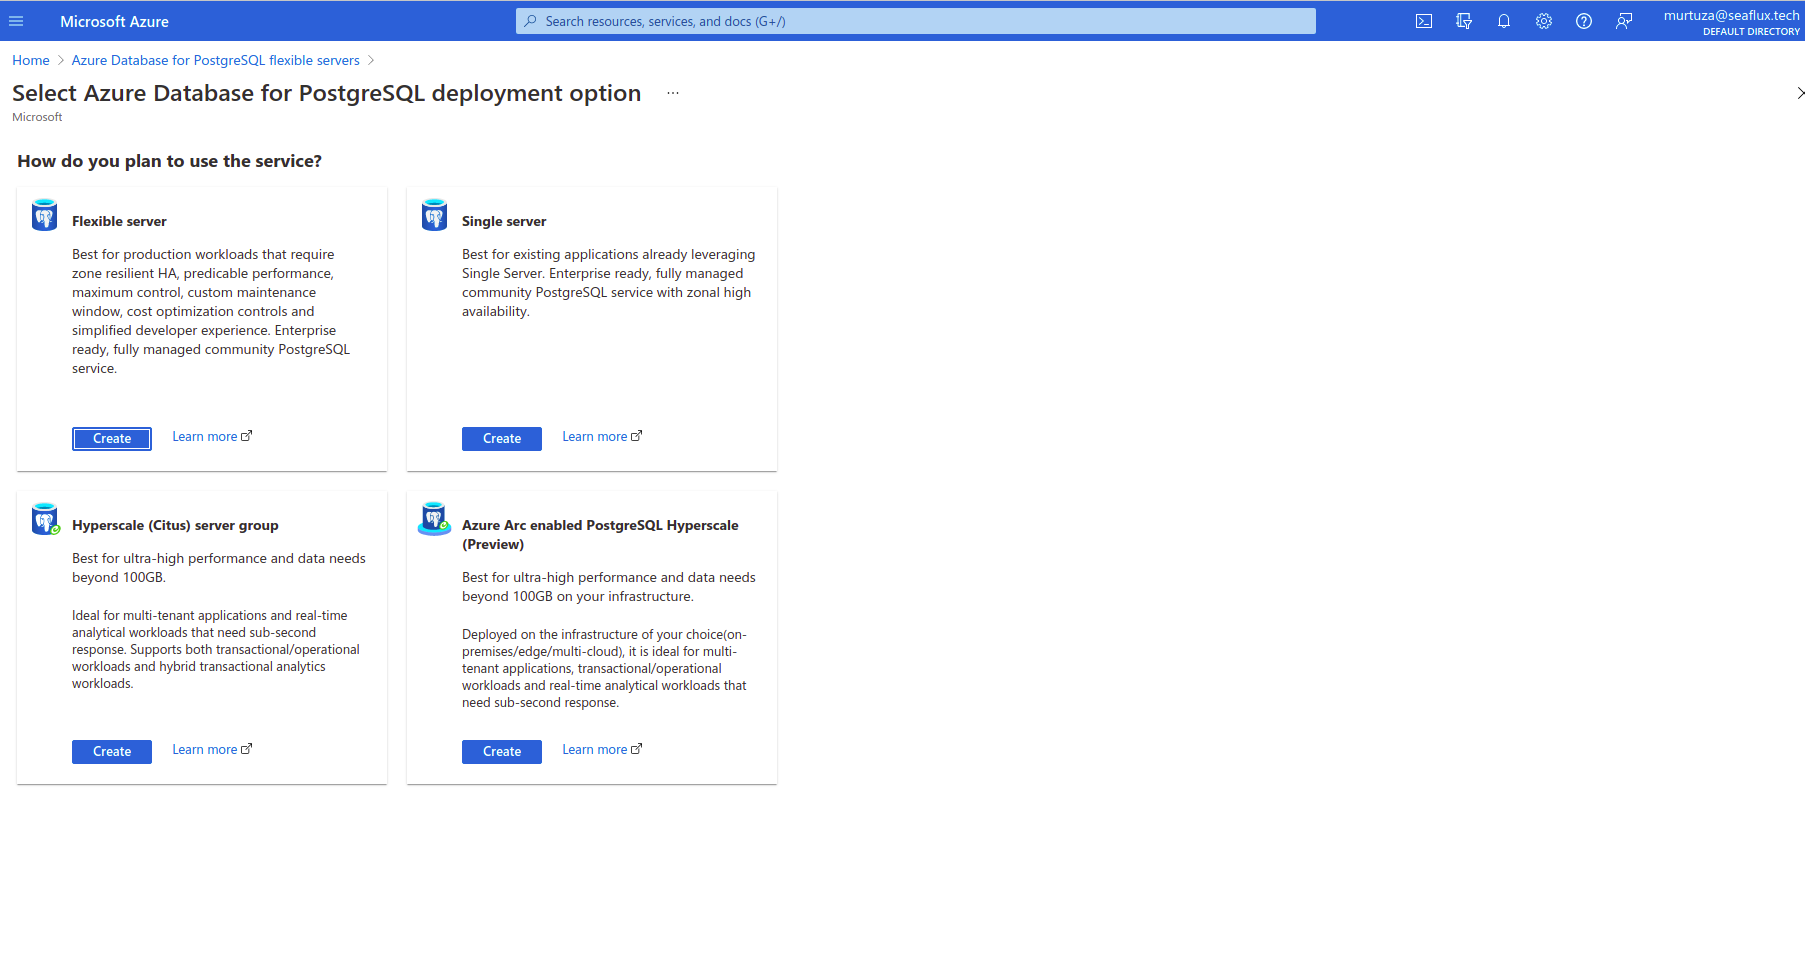
2. Select a flexible server.
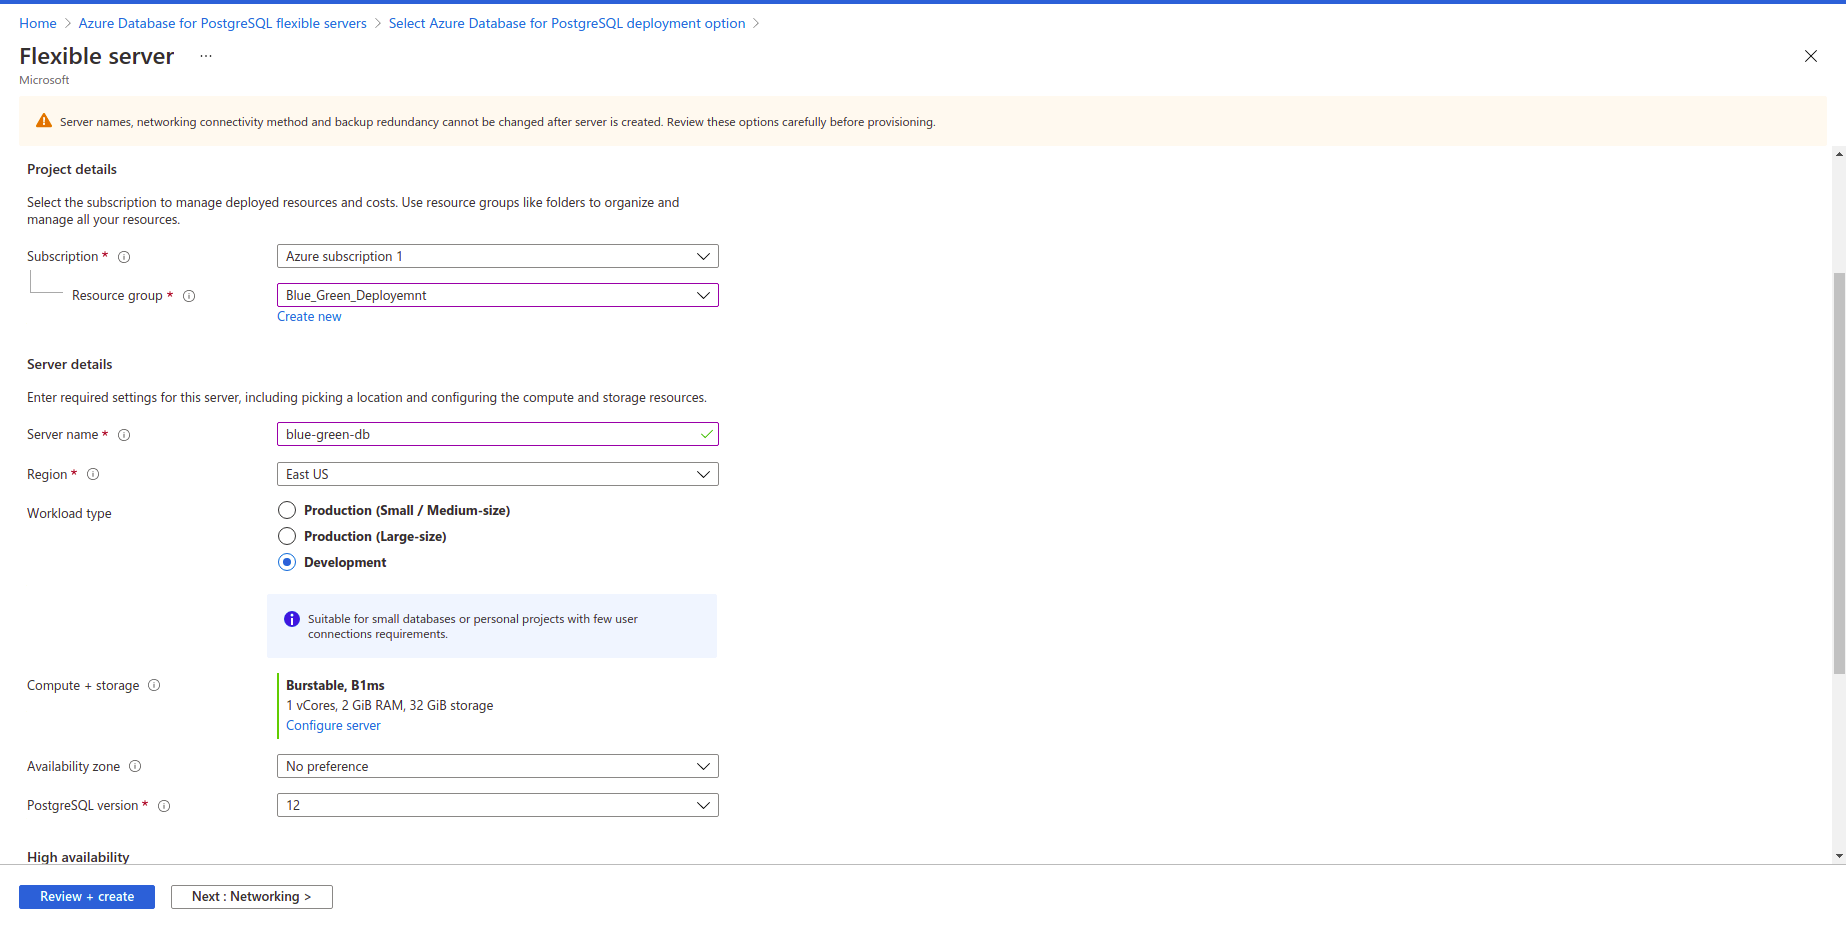
3. Select desired Resource Group, Workload type, and select postgre version. Now enter your username and generate a password
Note: Select the same Resource Group as we are using for Virtual Machine
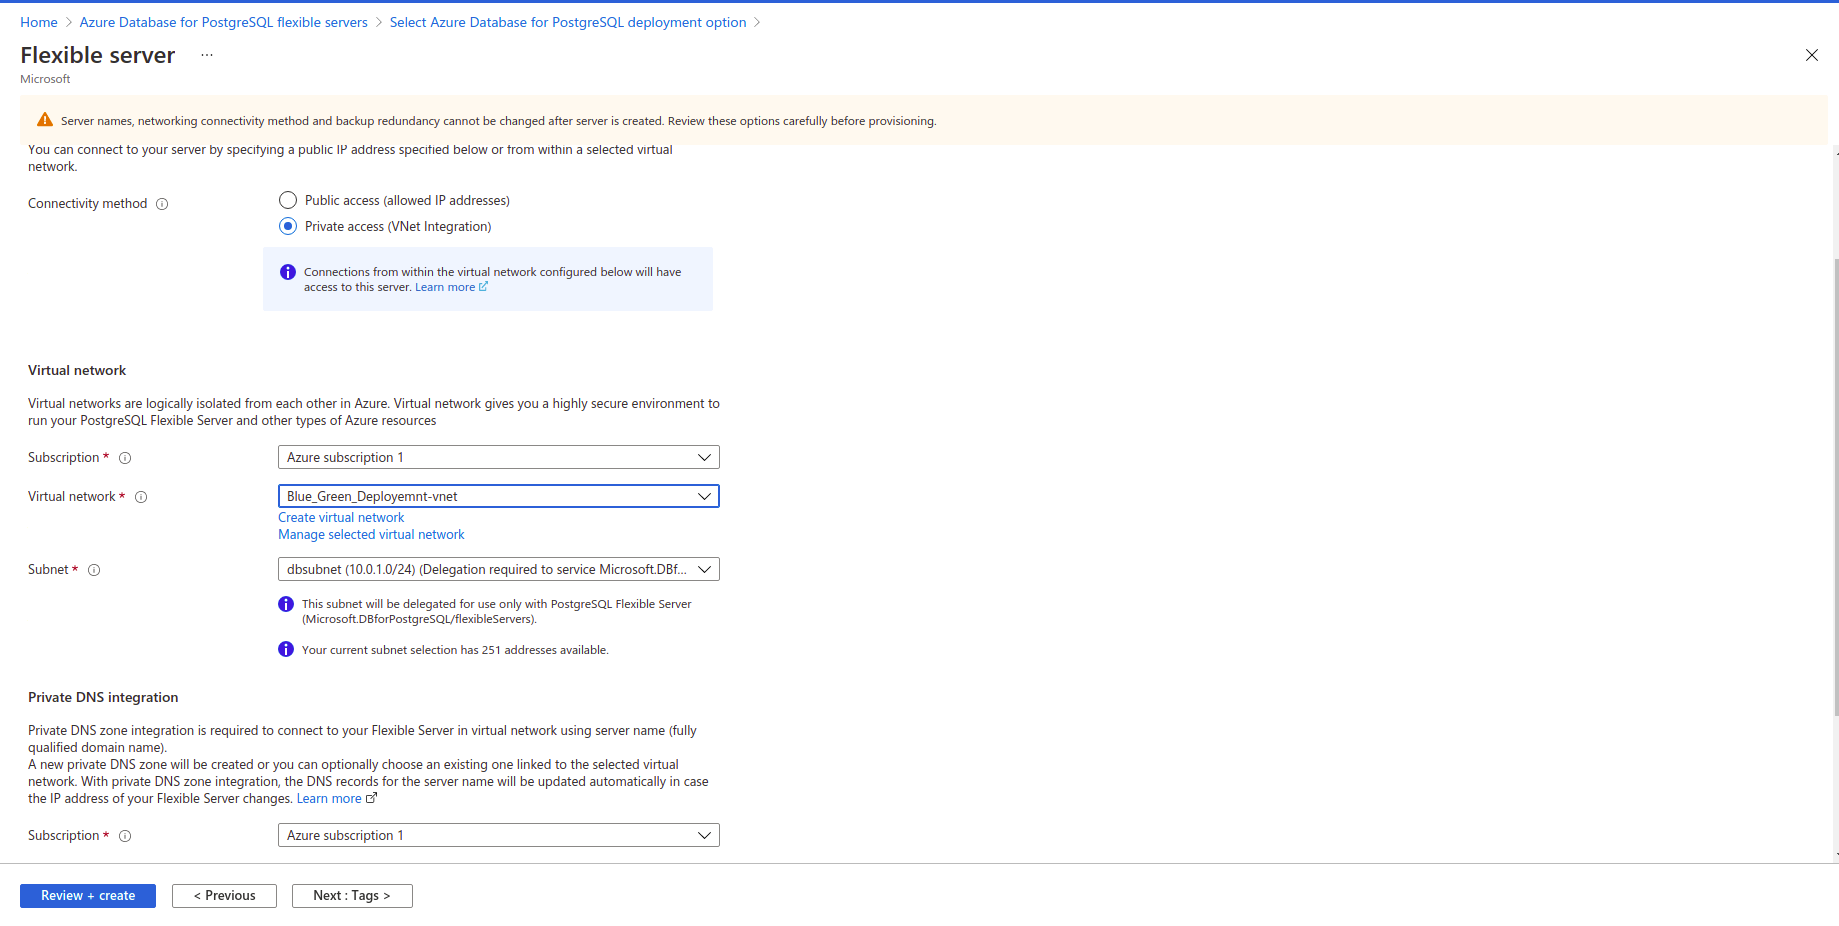
4. For the networking section, select the Private access for connectivity method. Also, select the same network as we used for the Virtual Machine.
Note: We would need a new subnet as the Virtual Machine’s subnet won't work for the Postgre flexible server.
5. Click on Create, and you will get the following output after the successful deployment.

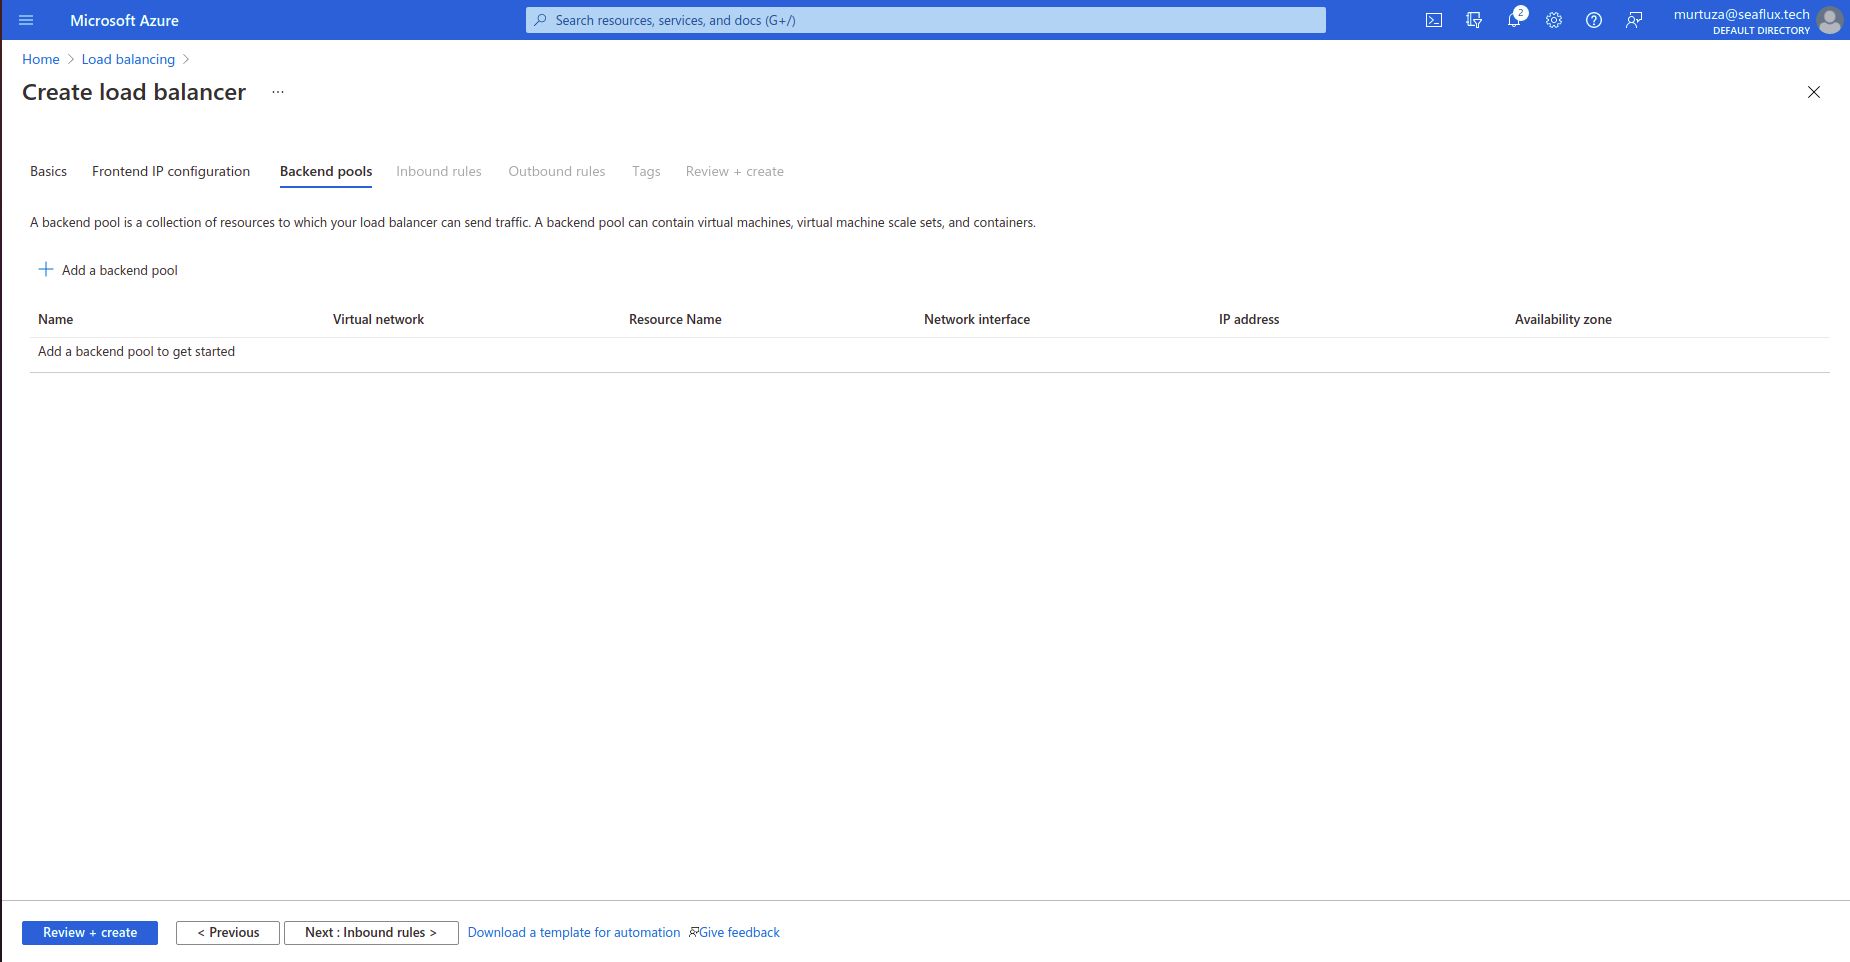
How to Create Load Balancer in Azure
Note: For Green deployment as well, follow the same steps.
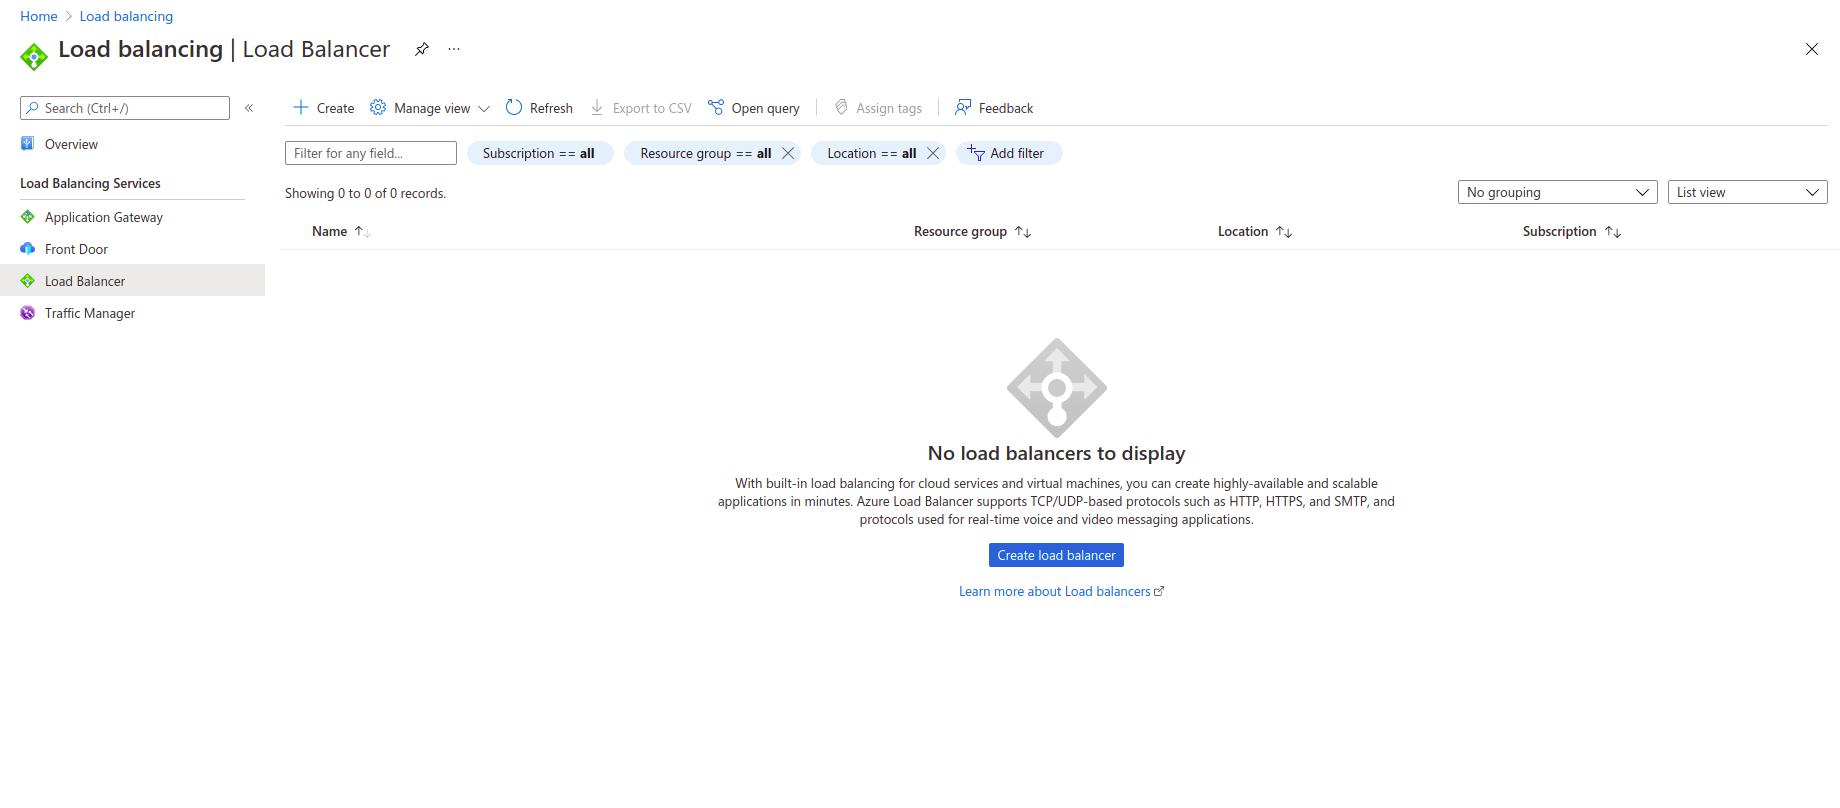
1. Open a service name Load Balancer in Azure and click on Create
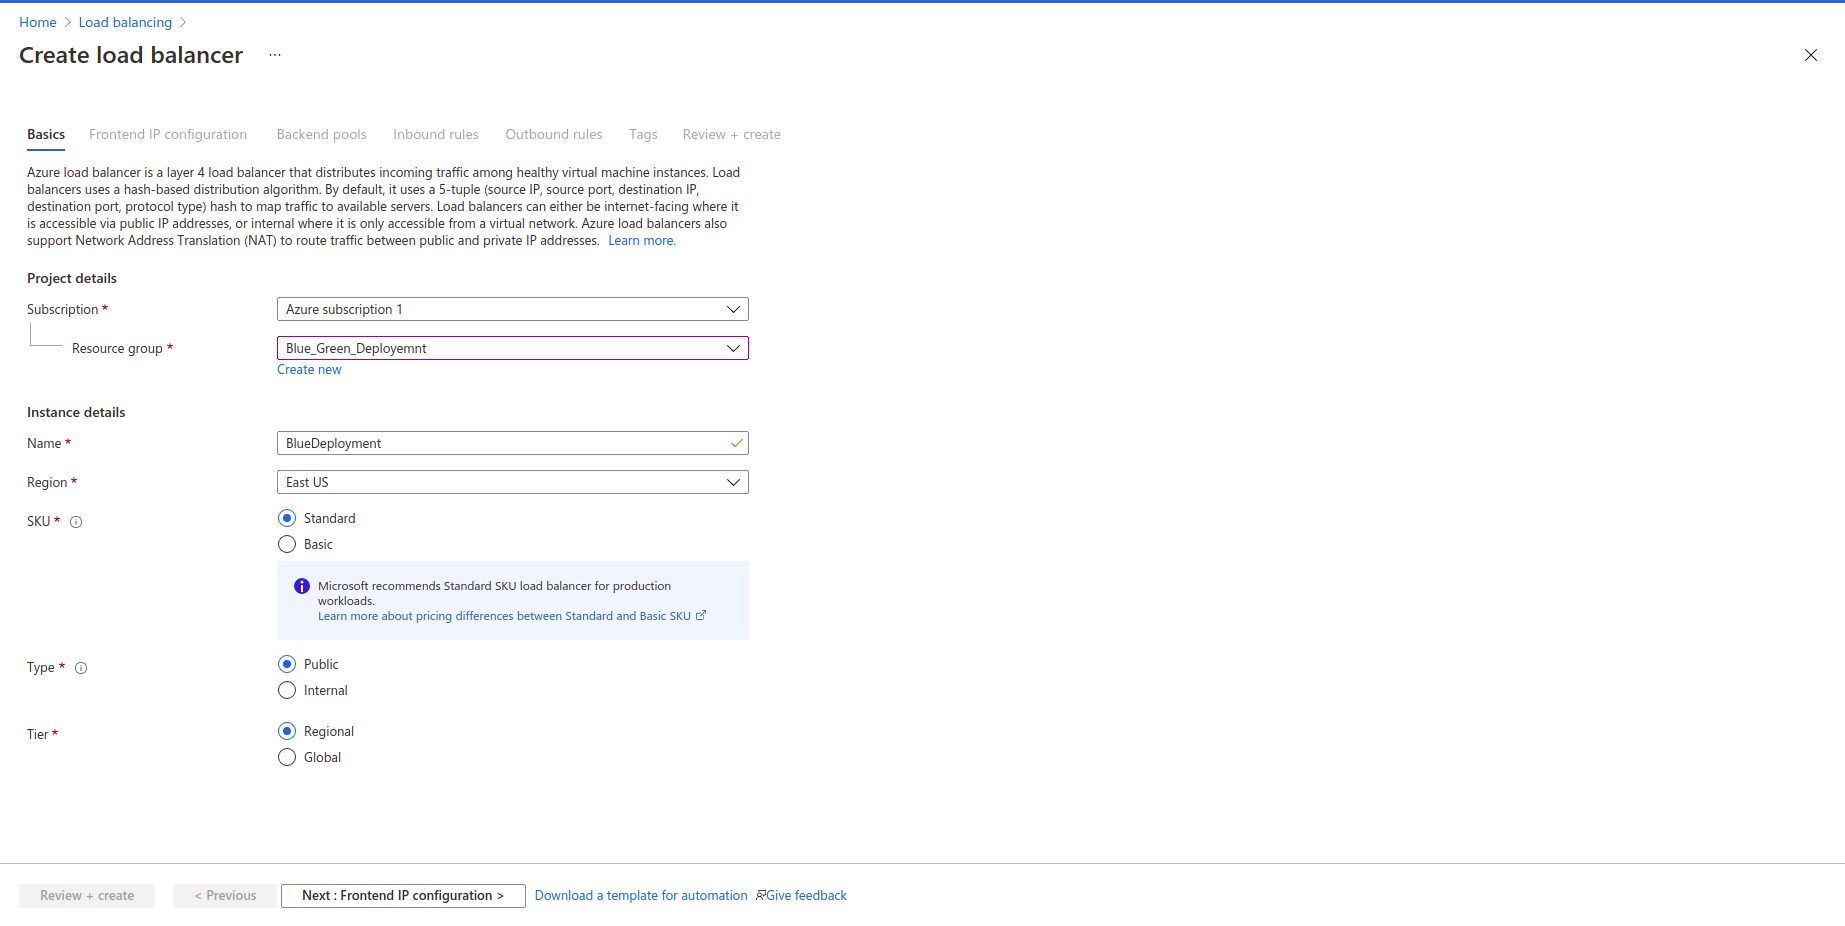
2. Enter a basic configuration and click on Next.
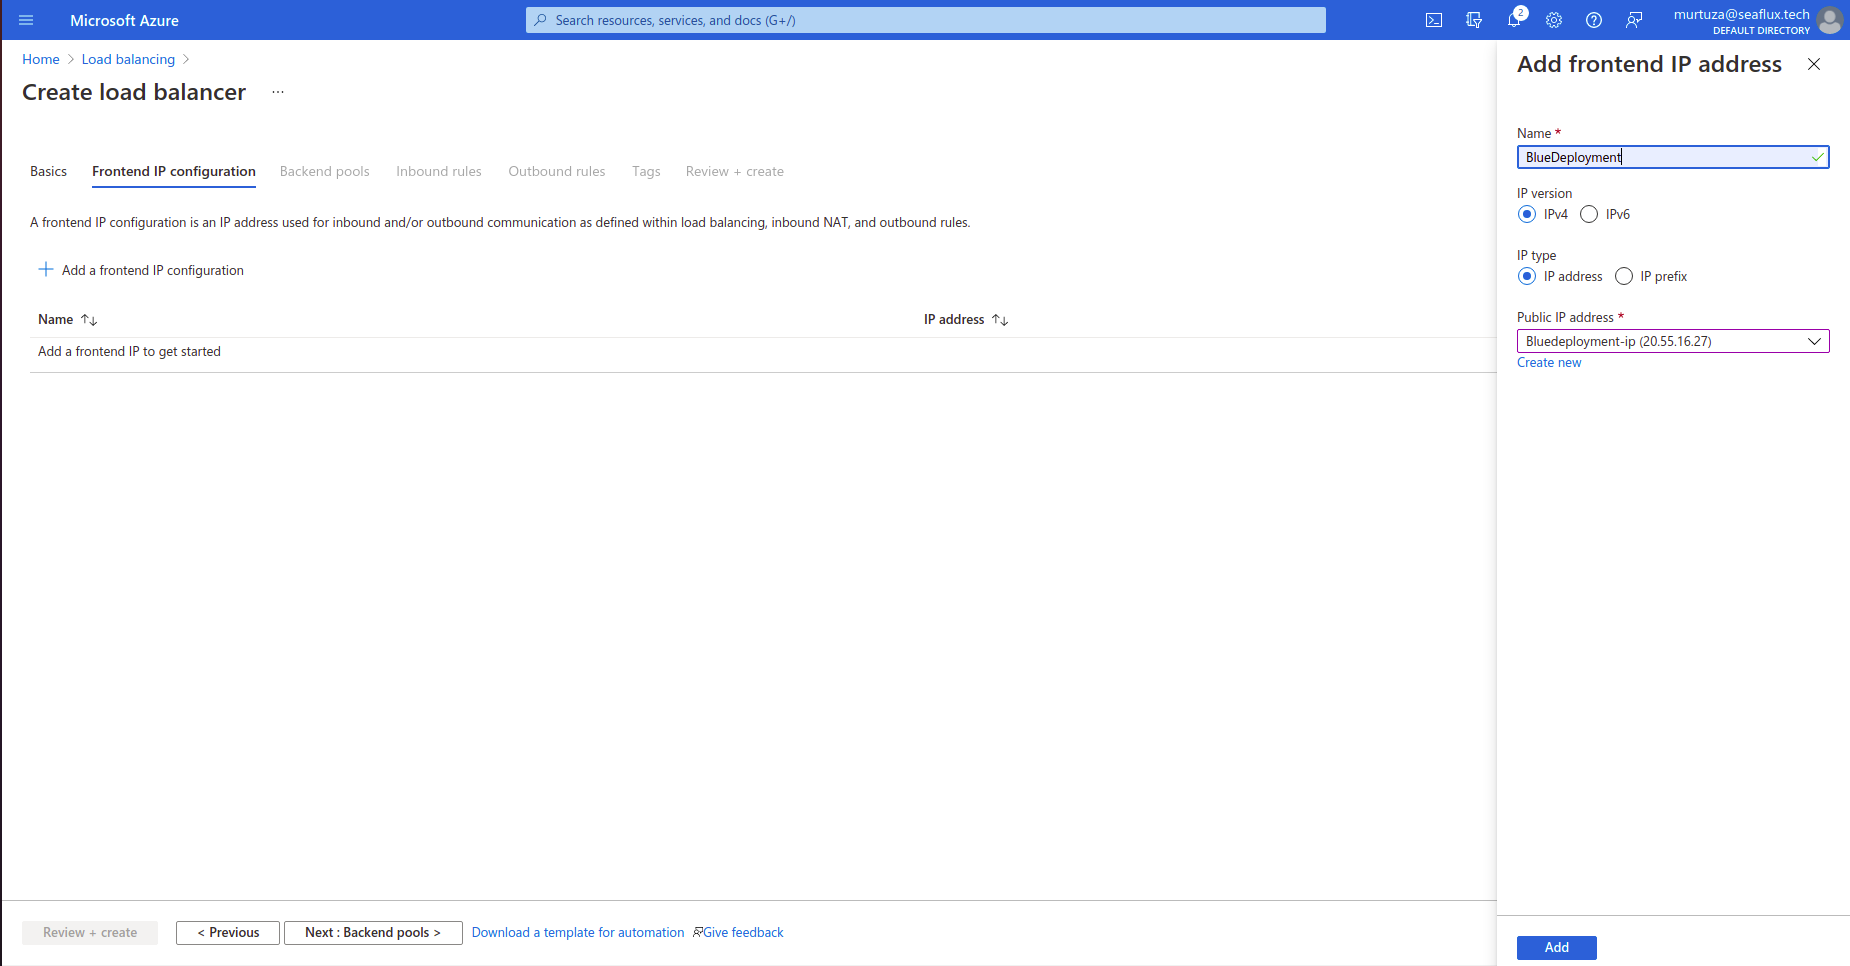
3. Click on Add frontend IP configuration and add Public IP address. (Either add an existing IP address or create a new one)
4. Select Add Backend Pools
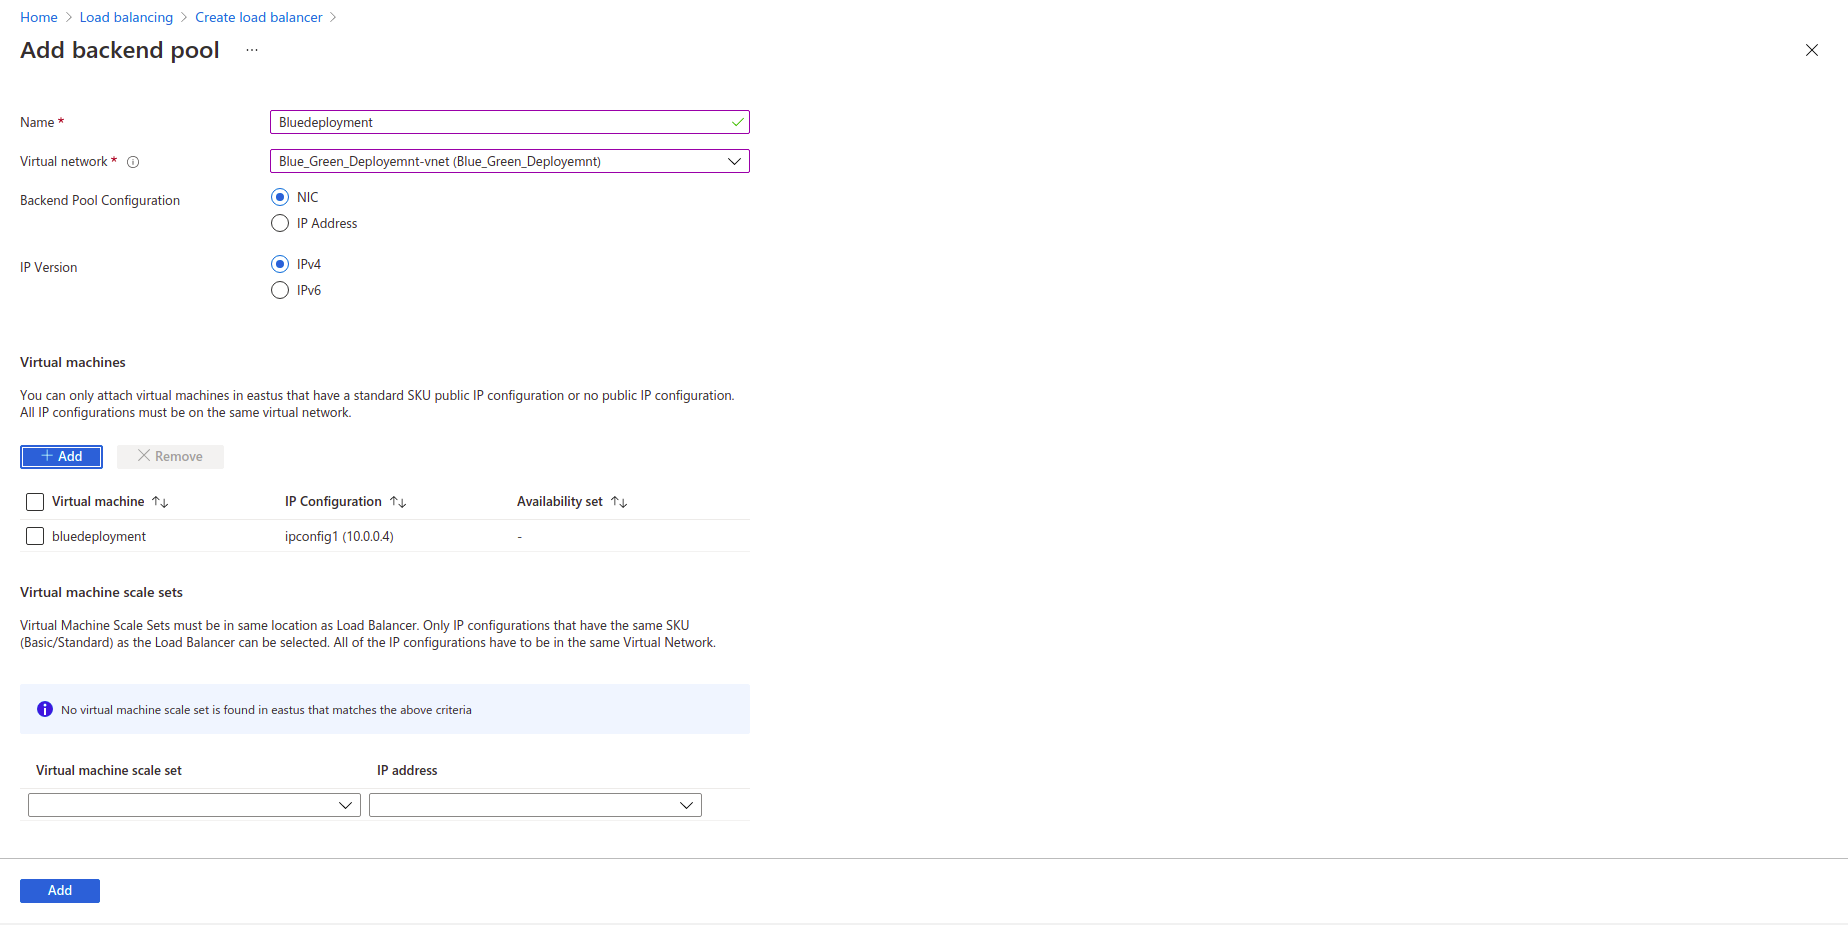
5. For adding Virtual Machine in your backend pool, select Virtual Machine and click on Add.
Note: Select the same V-net as did for the Virtual Machine.
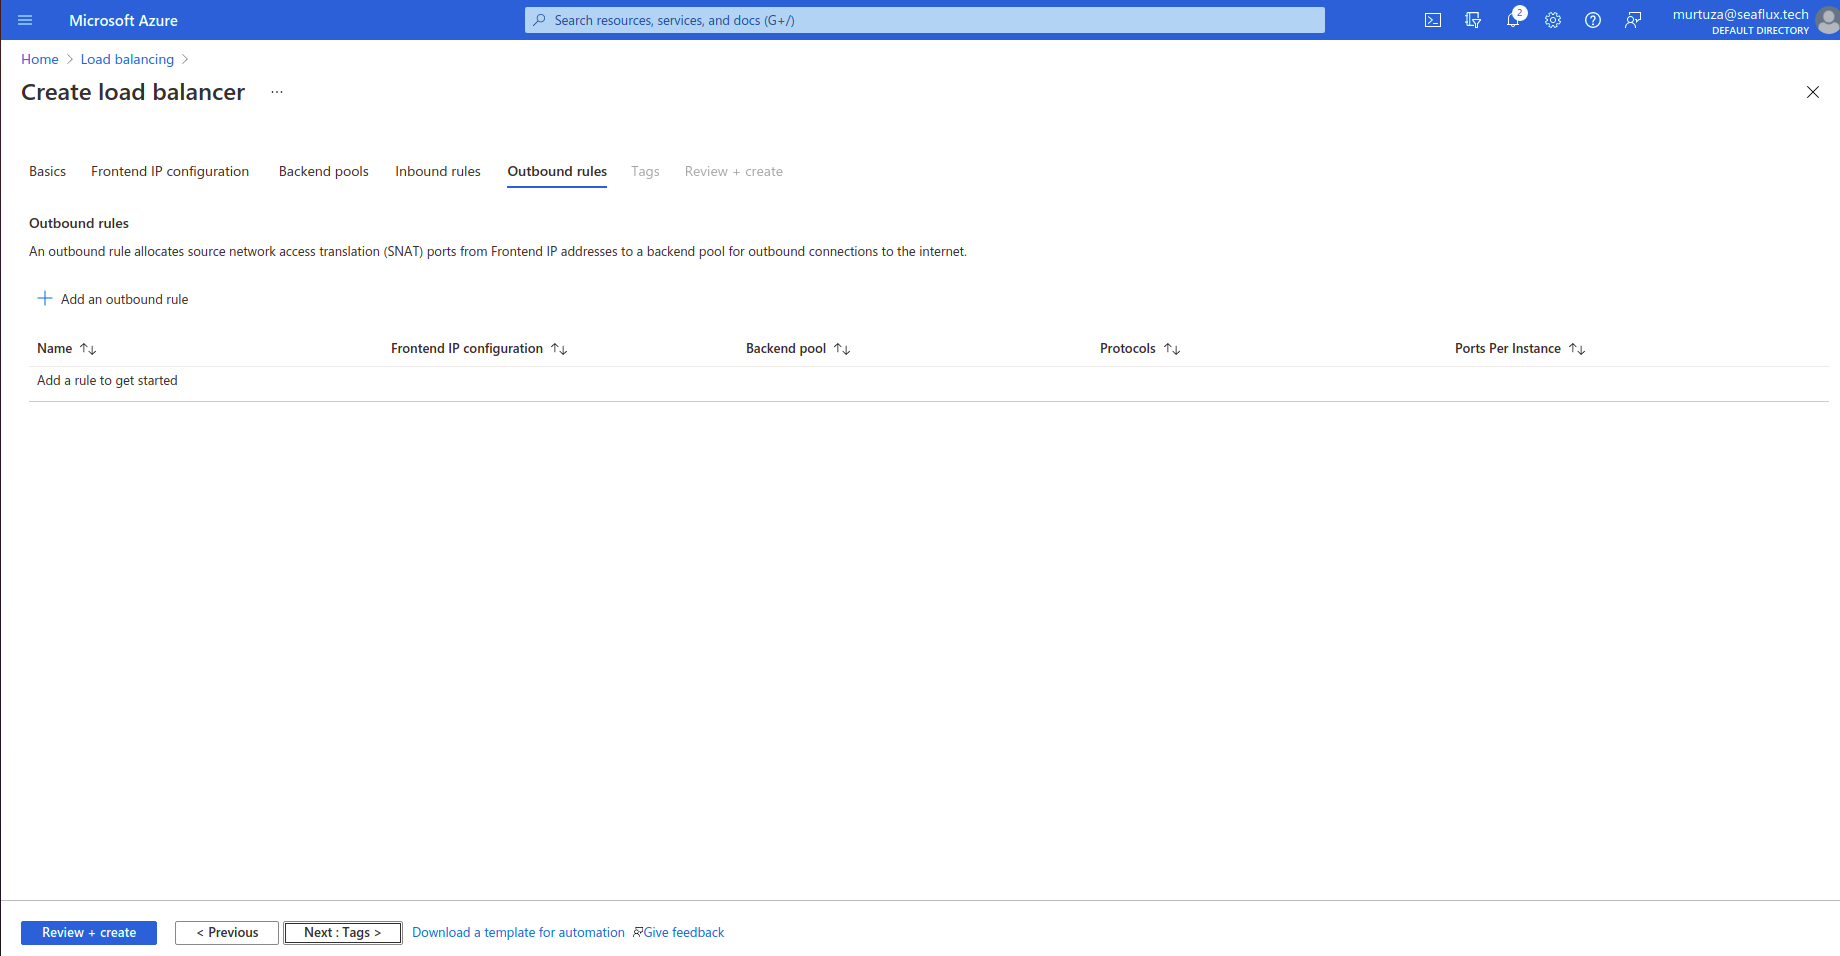
6. If there is a requirement of adding an Inbound or Outbound rule, then add the tags and click on Review and Create.
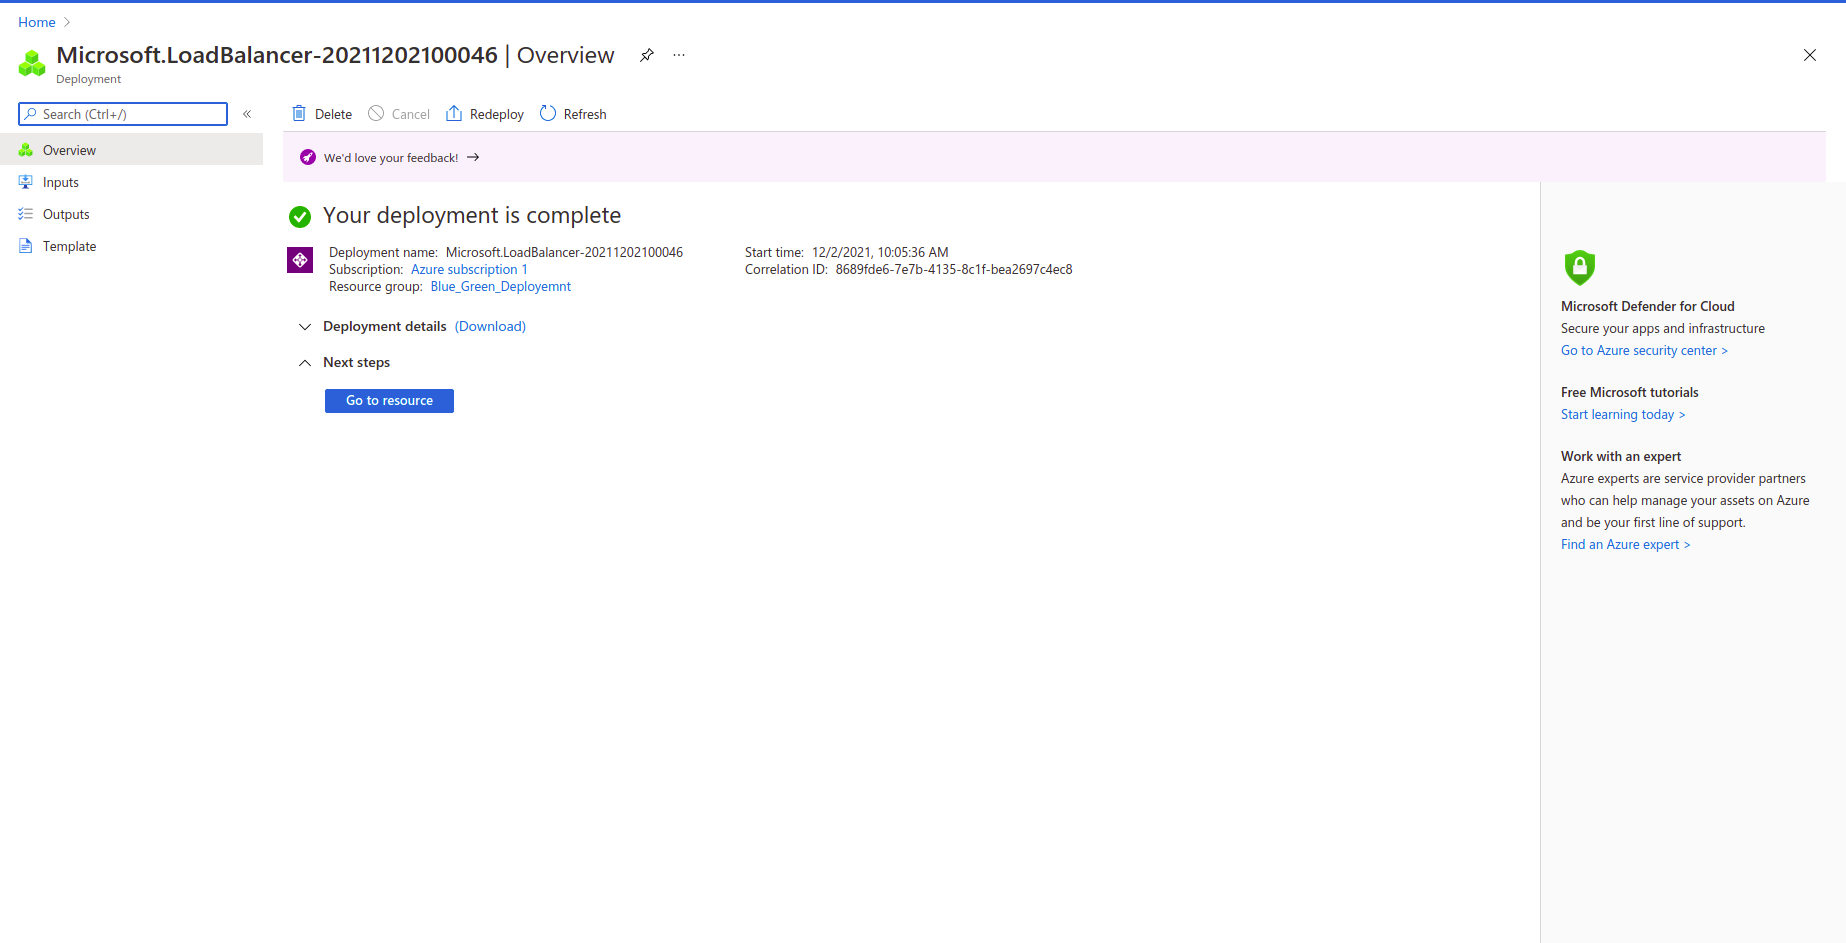
7. After a successful deployment, you will get an output like the image below.
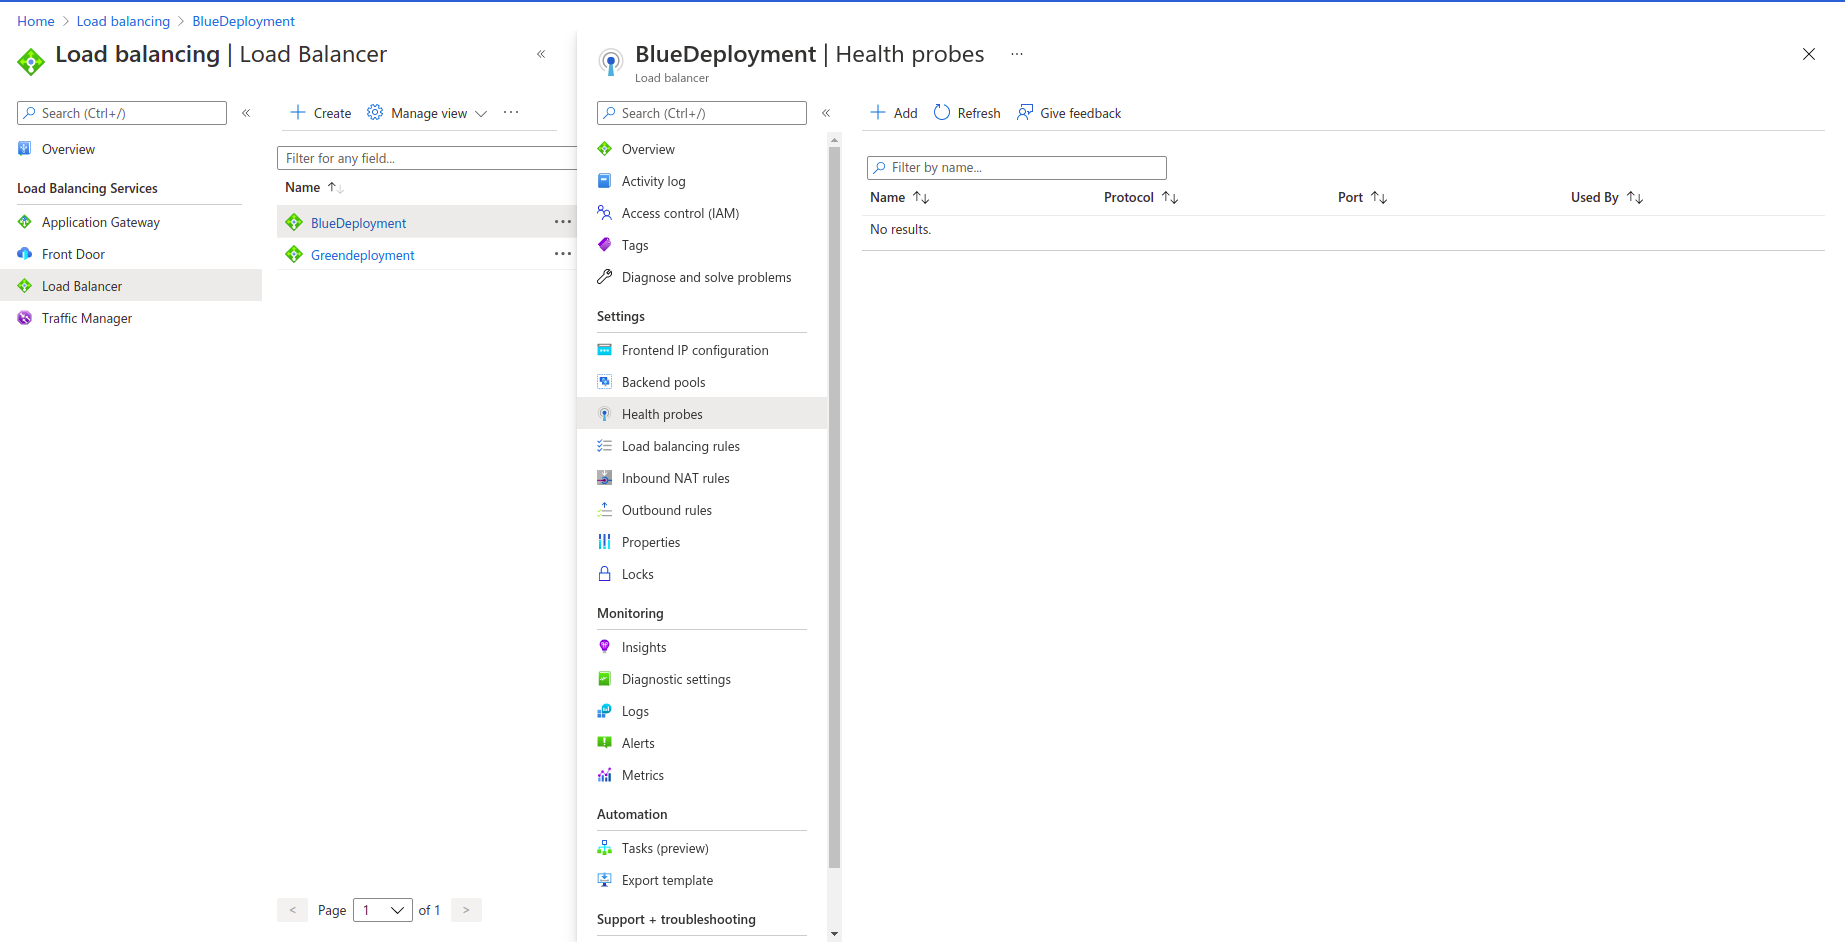
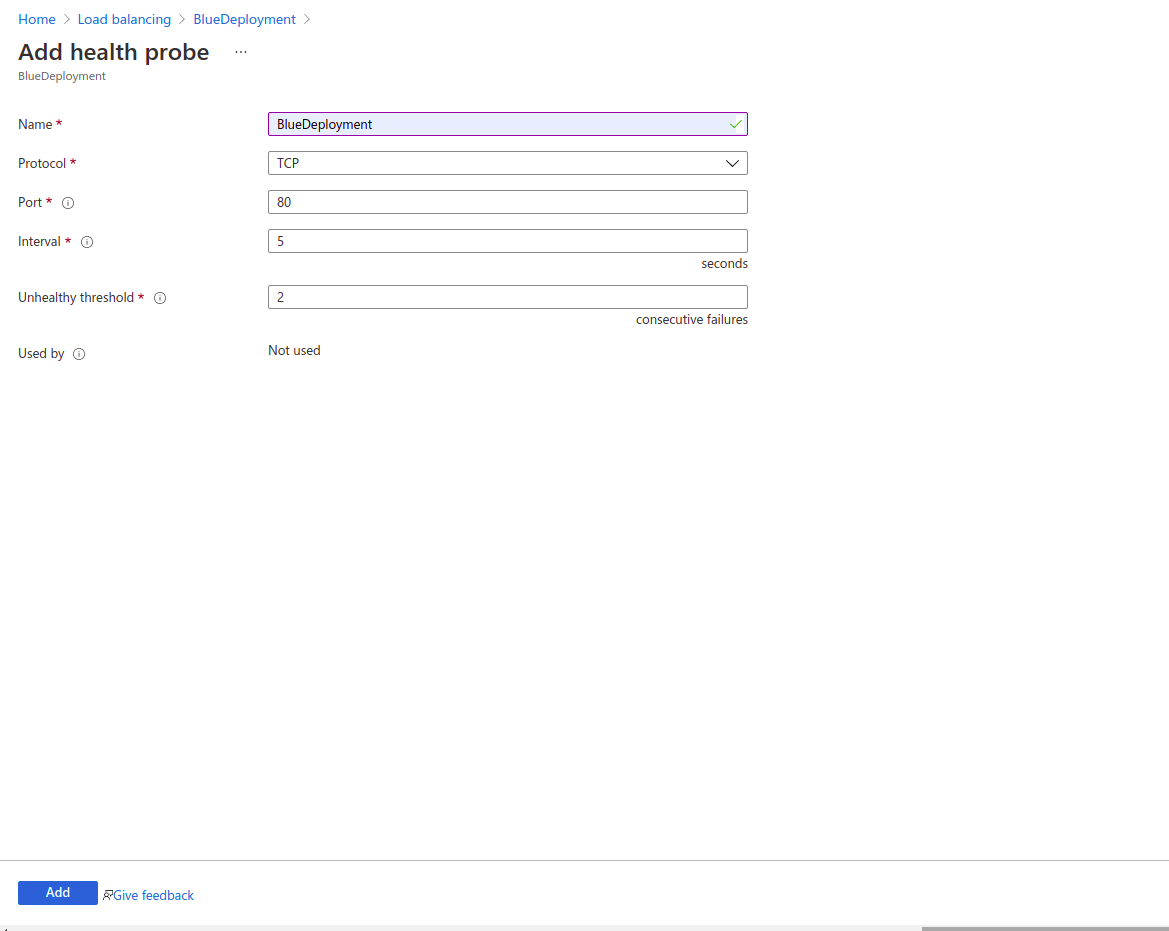
8. For adding the Health Probe for a health checkup, select the load balancer at the left panel, then you will see Health Probe, select and click on Add.
9. Add health prob for 80 port and click on Add.
How to create a Traffic manager in Azure
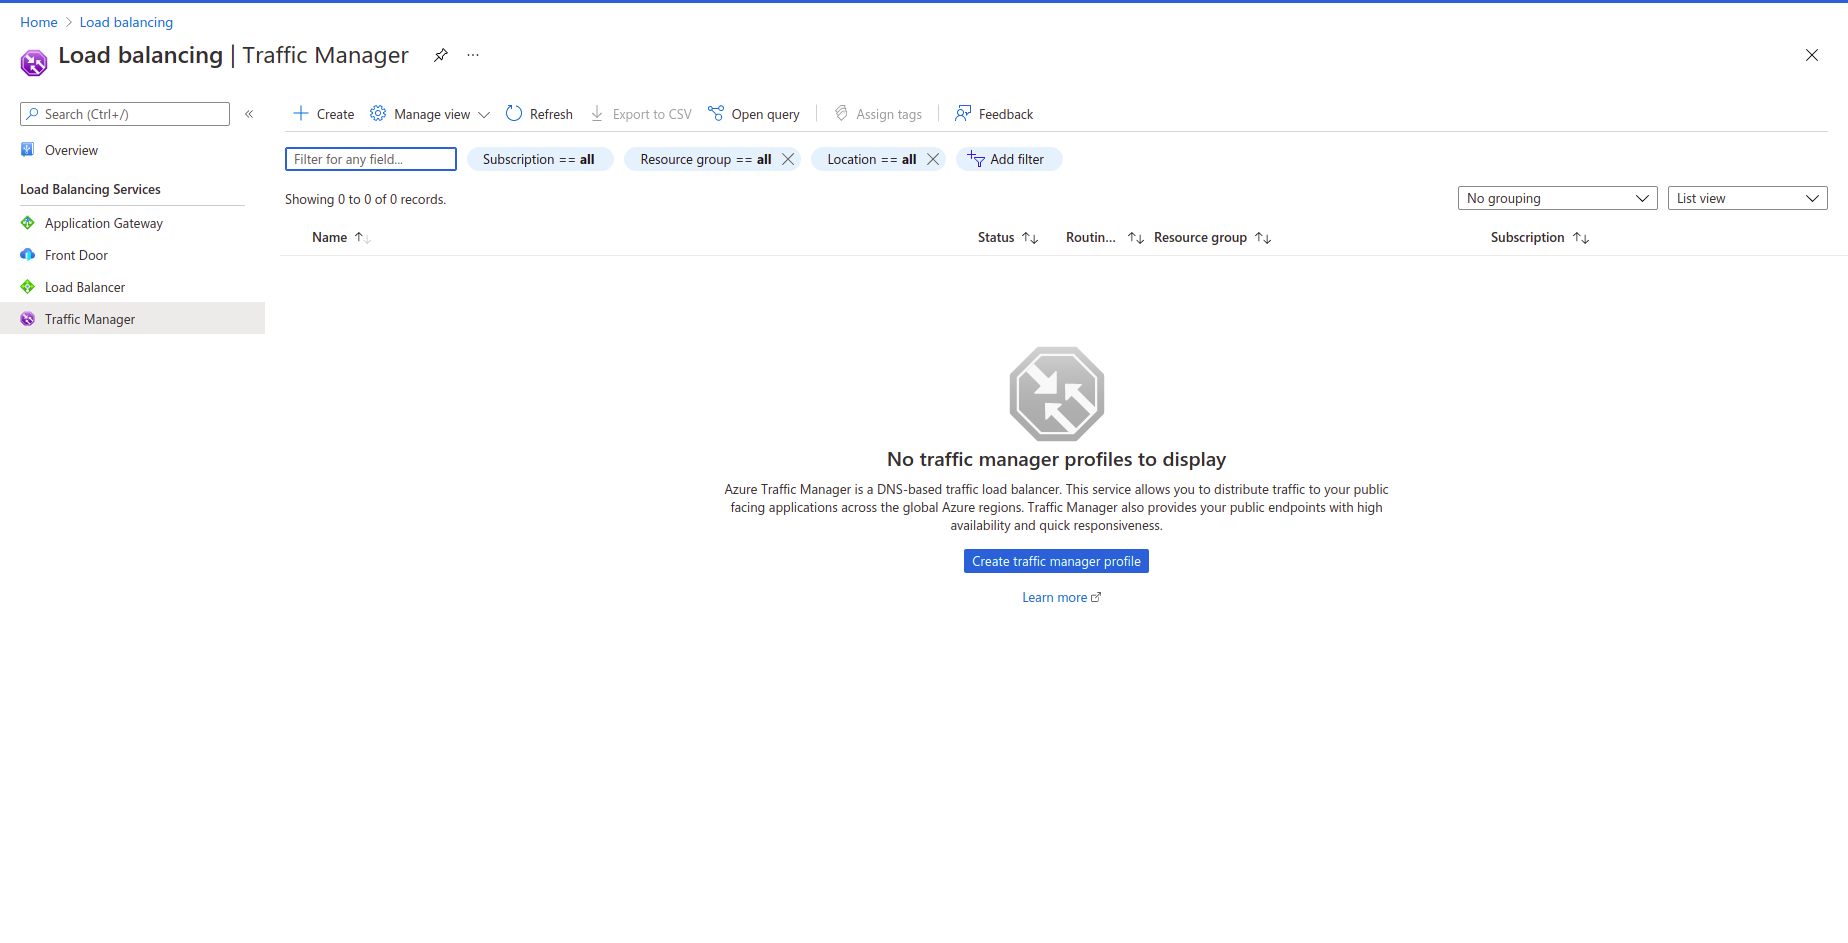
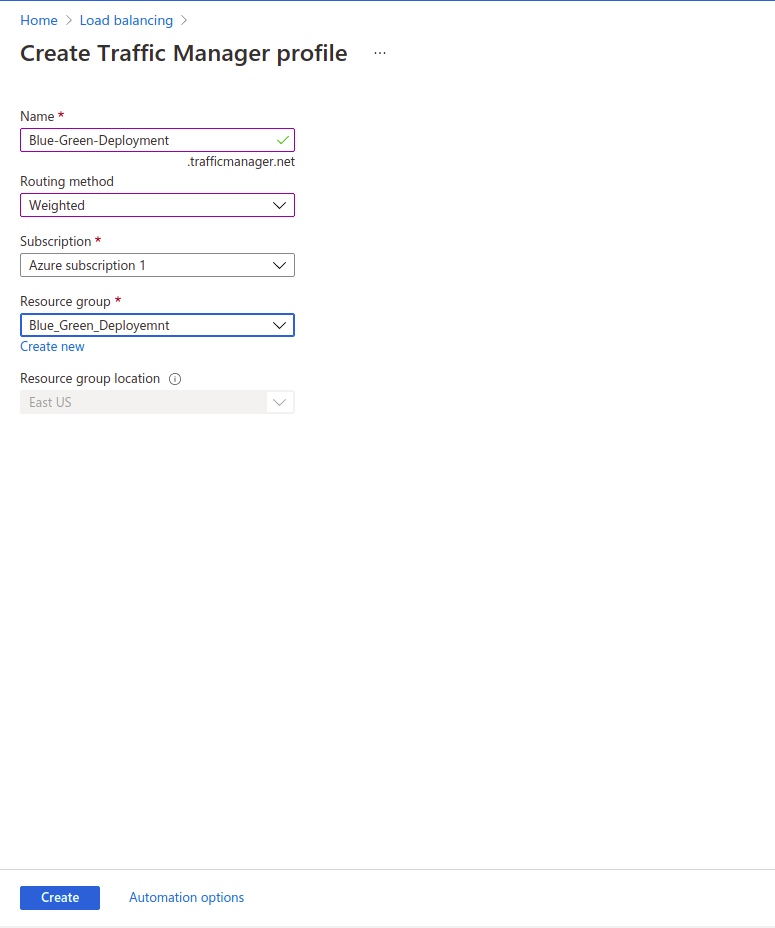
1. Open a service named Traffic Manager in the Azure portal and click on Create.
2. Select Weighted Routing Method and select the resource group same as every previous resource and click on Create.
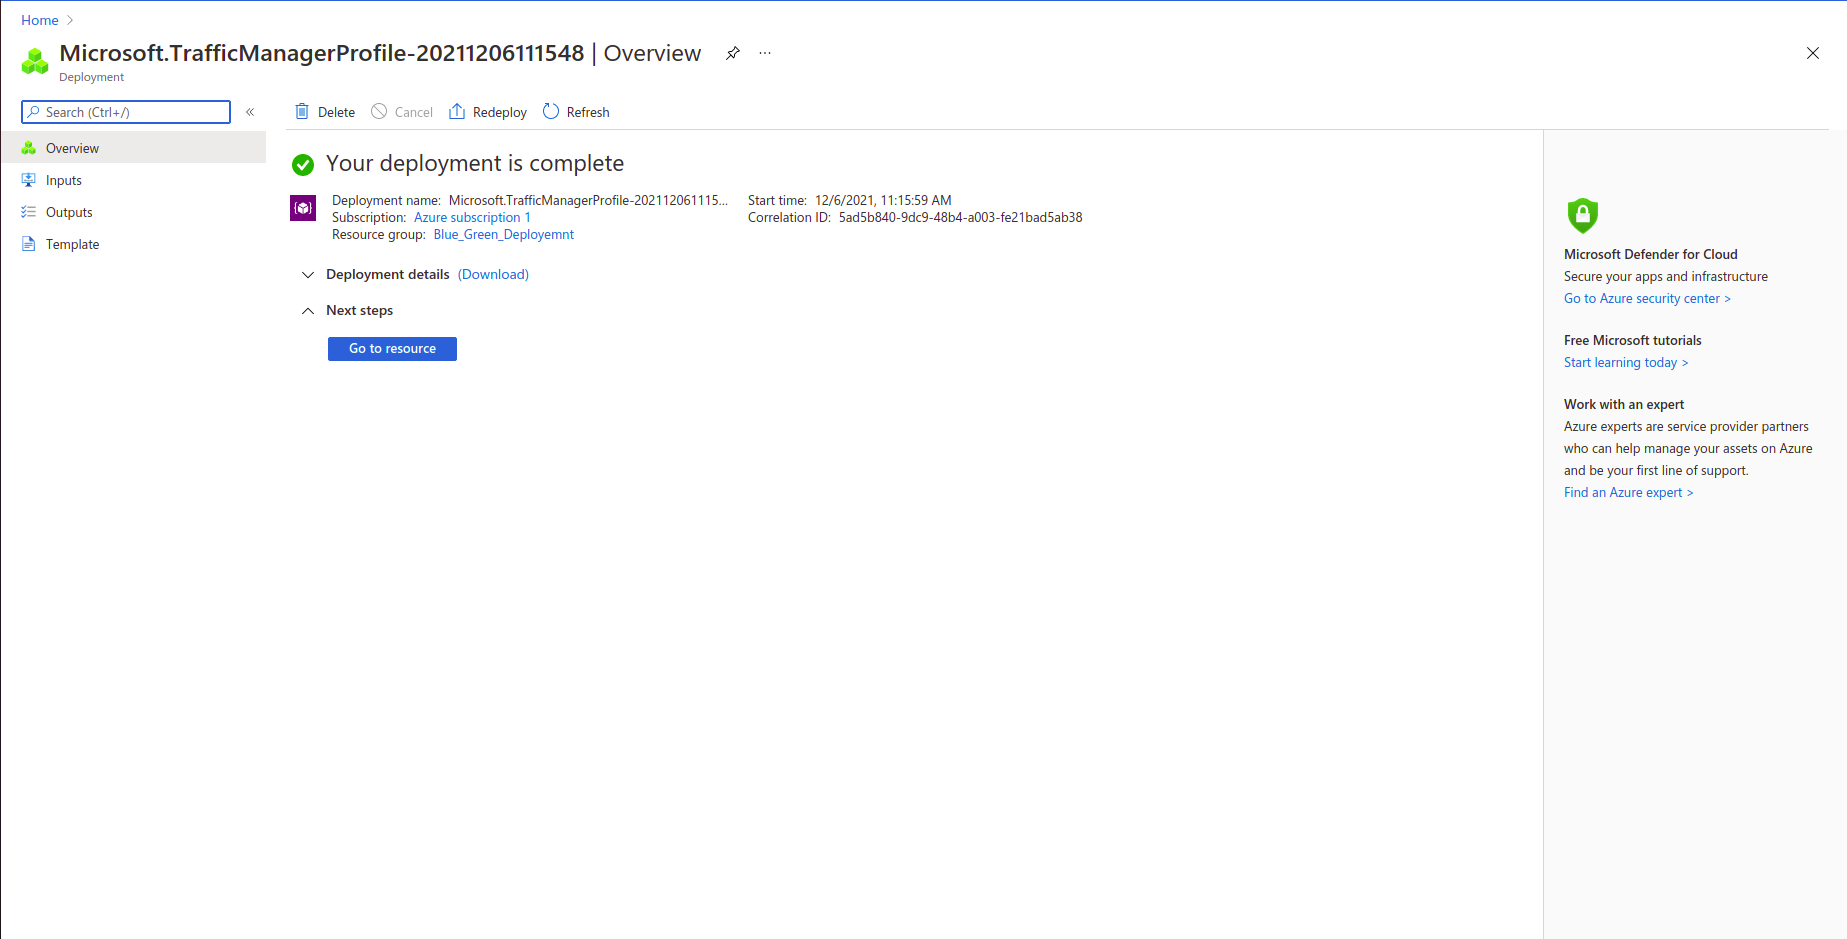
3 After successful deployment, you will get the output same as below.
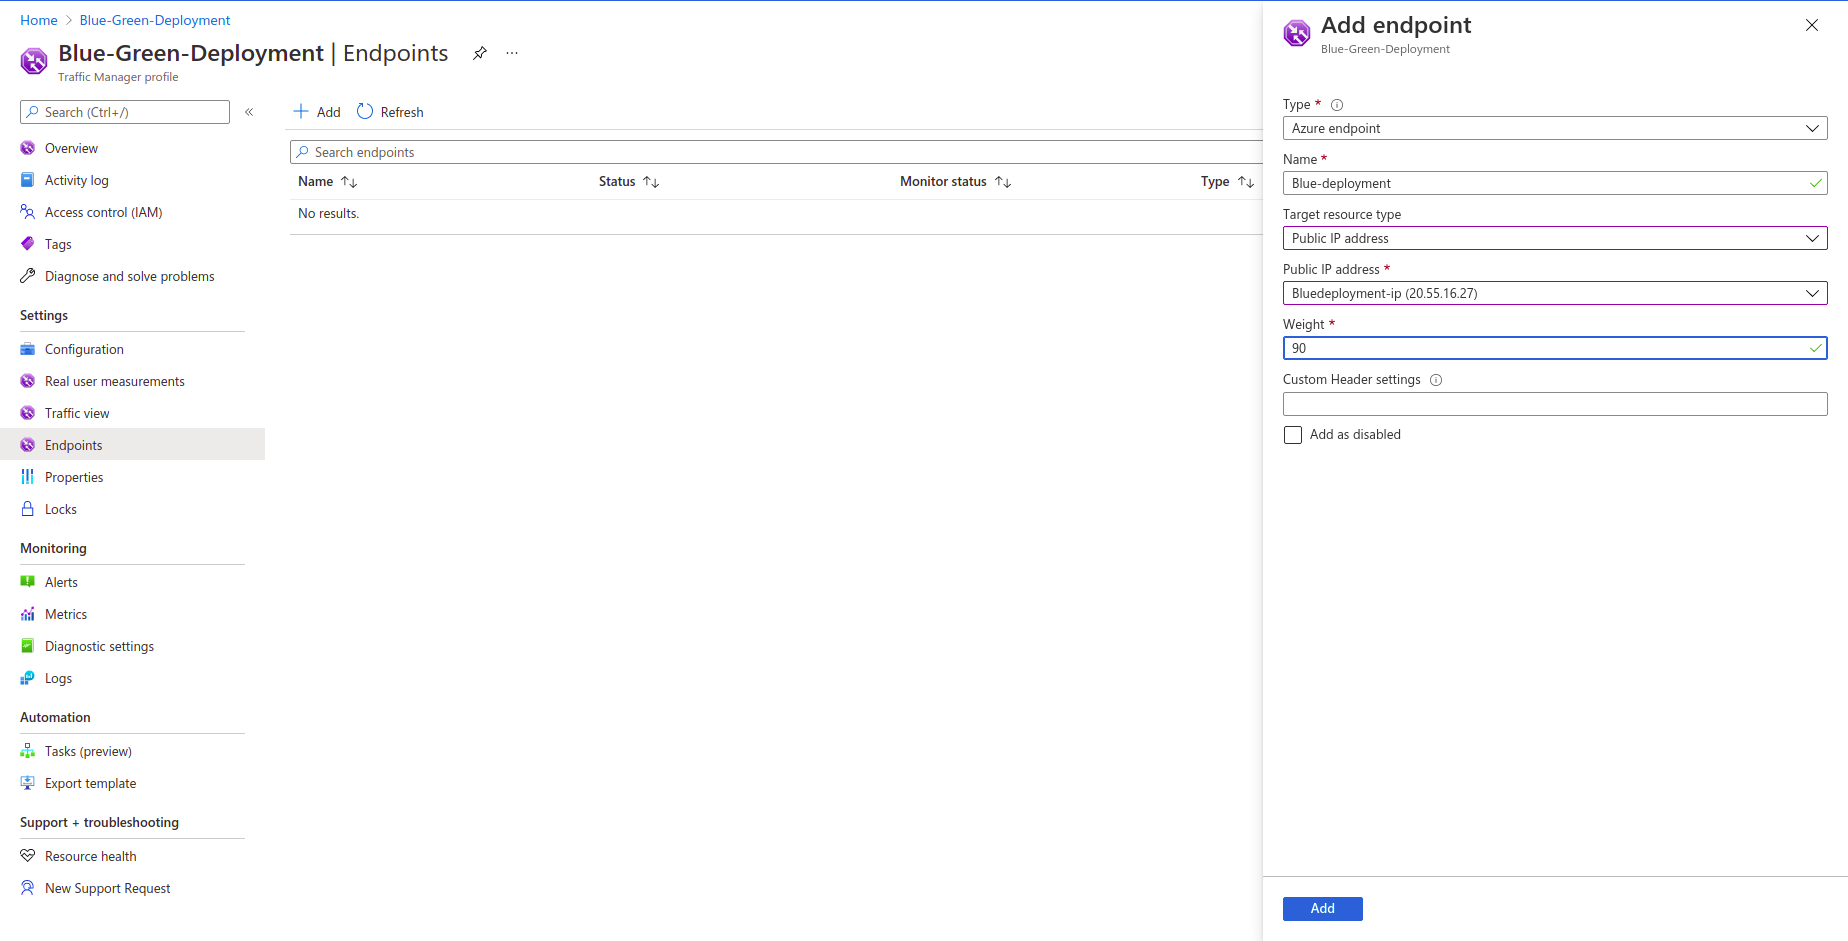
4. Now select the traffic manager we just created, and you will be able to see Endpoints in the left panel, select and click on Add.
(Follow the same steps for adding the “Green Deployment” endpoint)

5. Select the Resource Group type as a Public IP address, then select the Public IP and click on Add.
(Select the same public IP Address as we added for the Frontend IP Configuration for the Load Balancer)
Note: We have added 90% for the Blue Deployment and for the rest 10% for the Green Deployment.
(For the output you will see DNS name URL at the Traffic manager’s overview section)
Note: For adding a Public IP address in the Endpoints, we need to add a DNS name in the IP Address’s configuration.
- Search Public IP Address
- Select existing IP Address
- On the left panel select Configuration
- Enter the DNS name label
- Click on Save
End Note
Congratulations! You've successfully deployed the new update of your application without any downtime, and the new version is running smoothly. In case of a major bug, that is not allowing the users to use it properly, you can roll back the update, work on it, and deploy it back.
We at Seaflux are your dedicated partners in the ever-evolving landscape of Cloud Computing. Whether you're contemplating a seamless cloud migration, exploring the possibilities of Kubernetes deployment, or harnessing the power of AWS serverless architecture, Seaflux is here to lead the way.
Have specific questions or ambitious projects in mind? Let's discuss! Schedule a meeting with us here, and let Seaflux be your trusted companion in unlocking the potential of cloud innovation. Your journey to a more agile and scalable future starts with us.

Jay Mehta
Director of Engineering