Microservice applications require quite a lot of your stamina, and it's really frustrating if the resources lack while deploying the files and applying the changes, we know the reaction quite well. It can also happen that you have lots of nodes using merely 15% of their total power, however, you'll be billed for the 100%.
Both scenarios are troublesome, and hence, Google’s GKE Autopilot comes into the picture, which can solve both issues. In this blog, we will understand what is GKE and a step-by-step process to deploy the GKE Autopilot mode cluster.
GKE stands for Google Kubernetes Engine. Google cloud provides a Kubernetes service to manage container base environments to deploy our application. Google charges you for using the Kubernetes per node for the cluster. Managing the application is not Google’s responsibility.
Recently, Google has introduced a new way to manage your Kubernetes cluster, known as “GKE Autopilot”.
At the end of February 2021, Google released GKE Autopilot. The main feature of GKE Autopilot is to make cluster and node management/optimization fully automated for higher workload availability.
As mentioned earlier, GKE Autopilot is just another way to manage your Kubernetes cluster. So, for hosting your application, you need not be a specialist in the Kubernetes cluster. And this makes hosting your application on Kubernetes much easier.
With Autopilot, you need not monitor the health of your nodes or your cluster and calculate the compute capacity requirement for your workloads. You do not have to interact with any Nodes in your cluster. Every workload, pods runtime management, security updates and maintenance, and monitoring health checks are taken care of by GKE's autopilot mode.
For autopilot, GKE charges you per pod (CPU, memory, and storage), and usage is pay-per-use. Users only pay for the CPU memory and storage. Get a detailed price list at Google Kubernetes Engine pricing.
| Containers per cluster | 25,600 |
| Pods per node | 32 |
| Node configurations per cluster | 400 |
By calculating this, we can conclude that we can configure 12,800 pods per cluster.
In Autopilot mode, managing your runtime application, pod, and the node is Google’s responsibility. Autopilot provides 2 types of autoscaling.
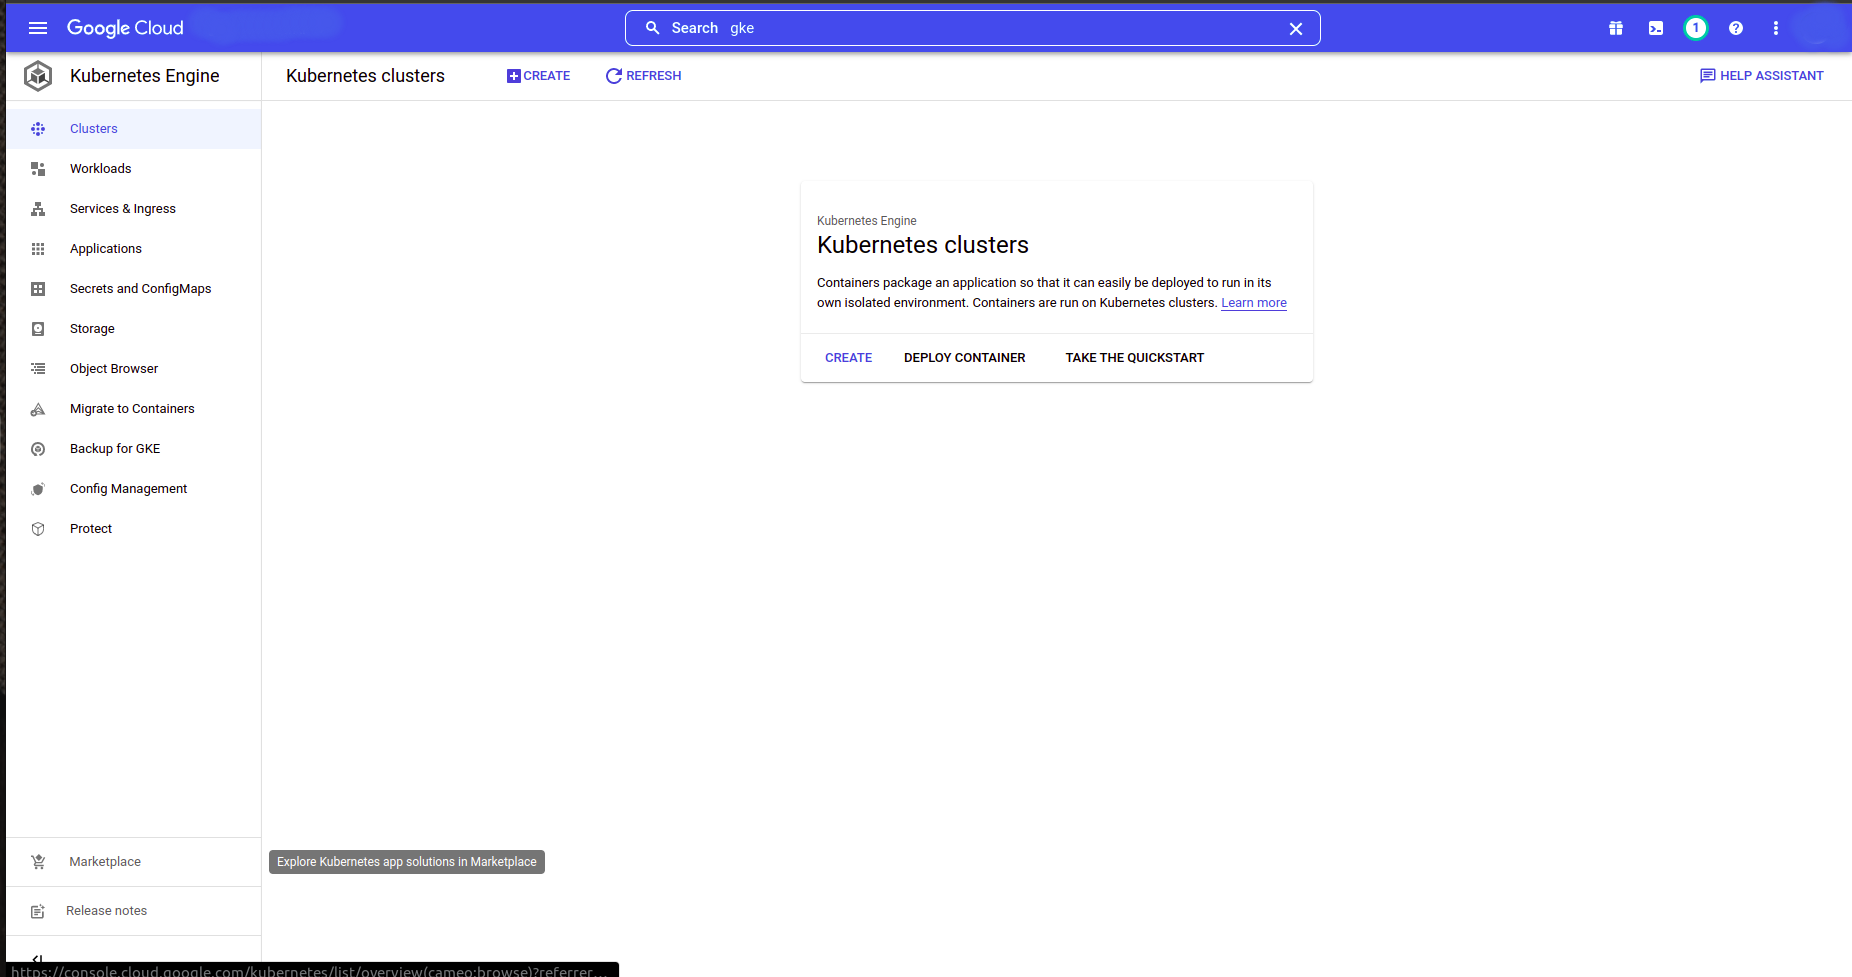
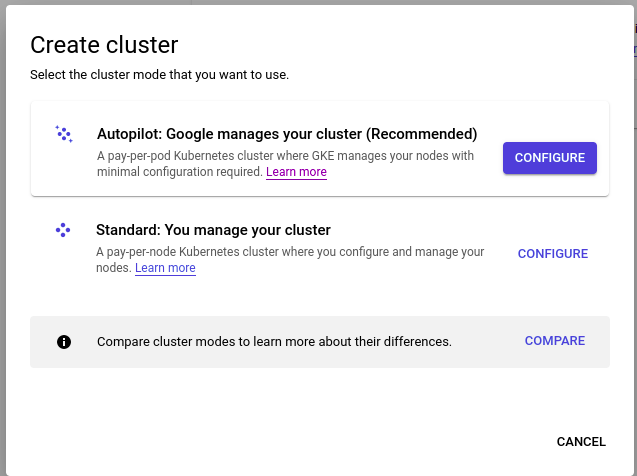
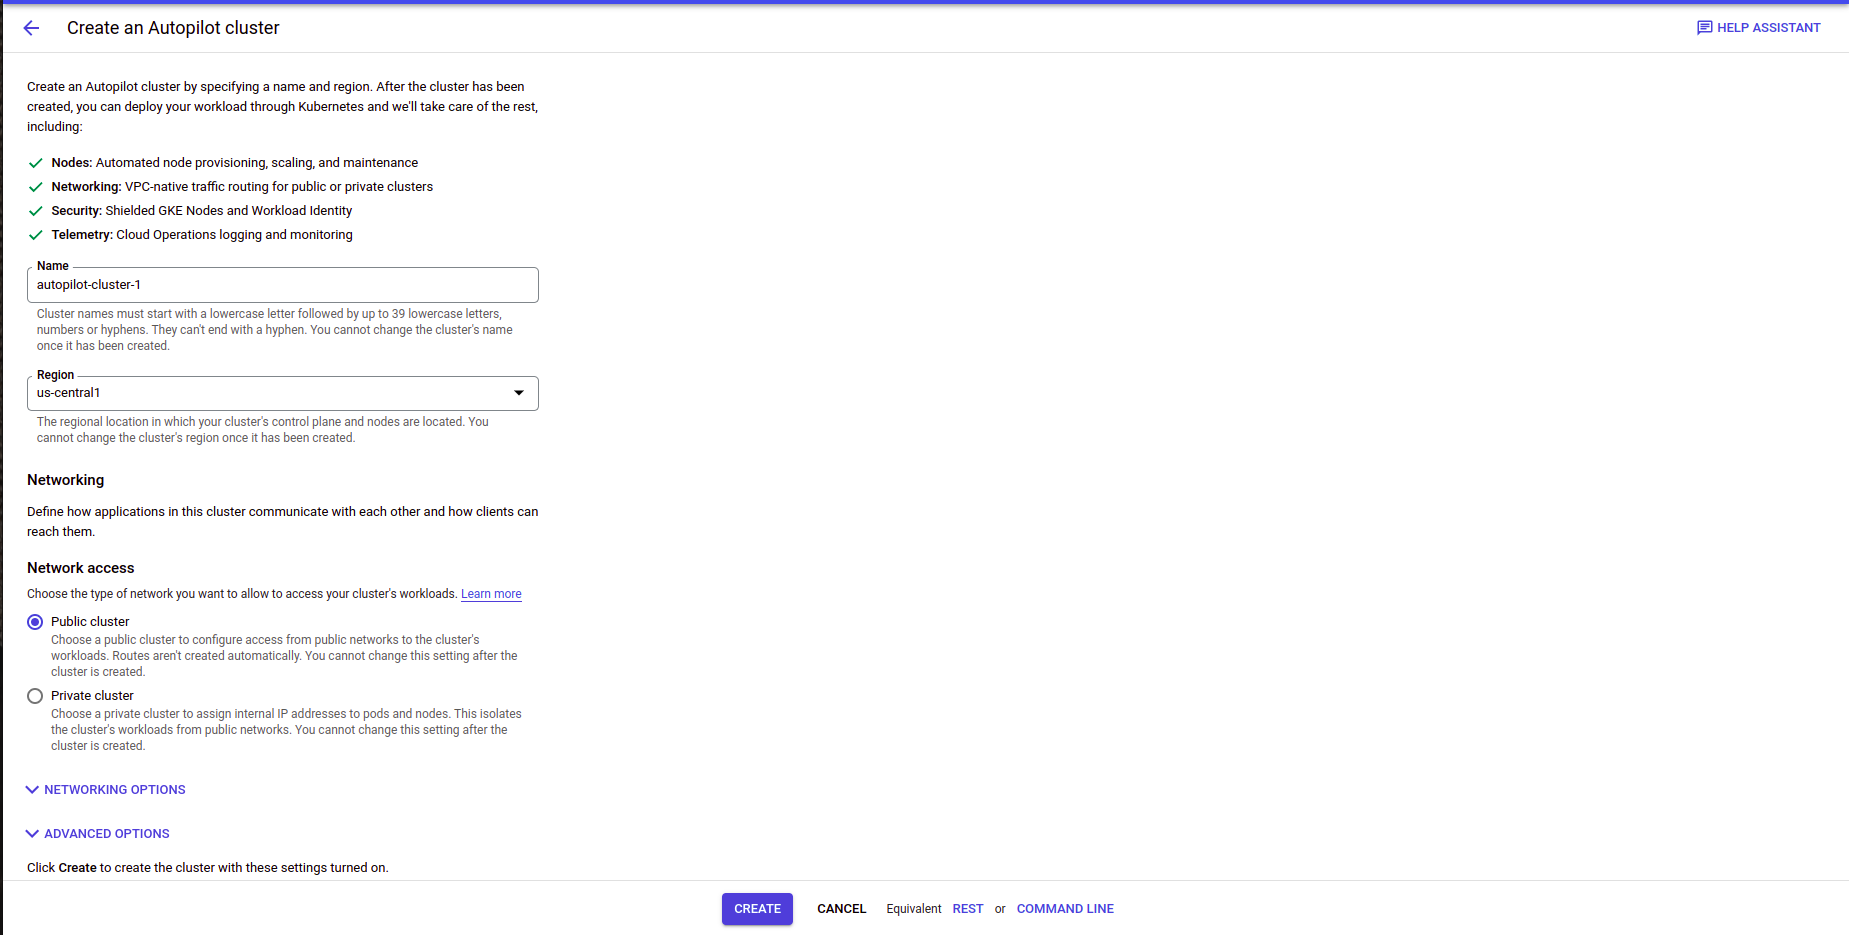
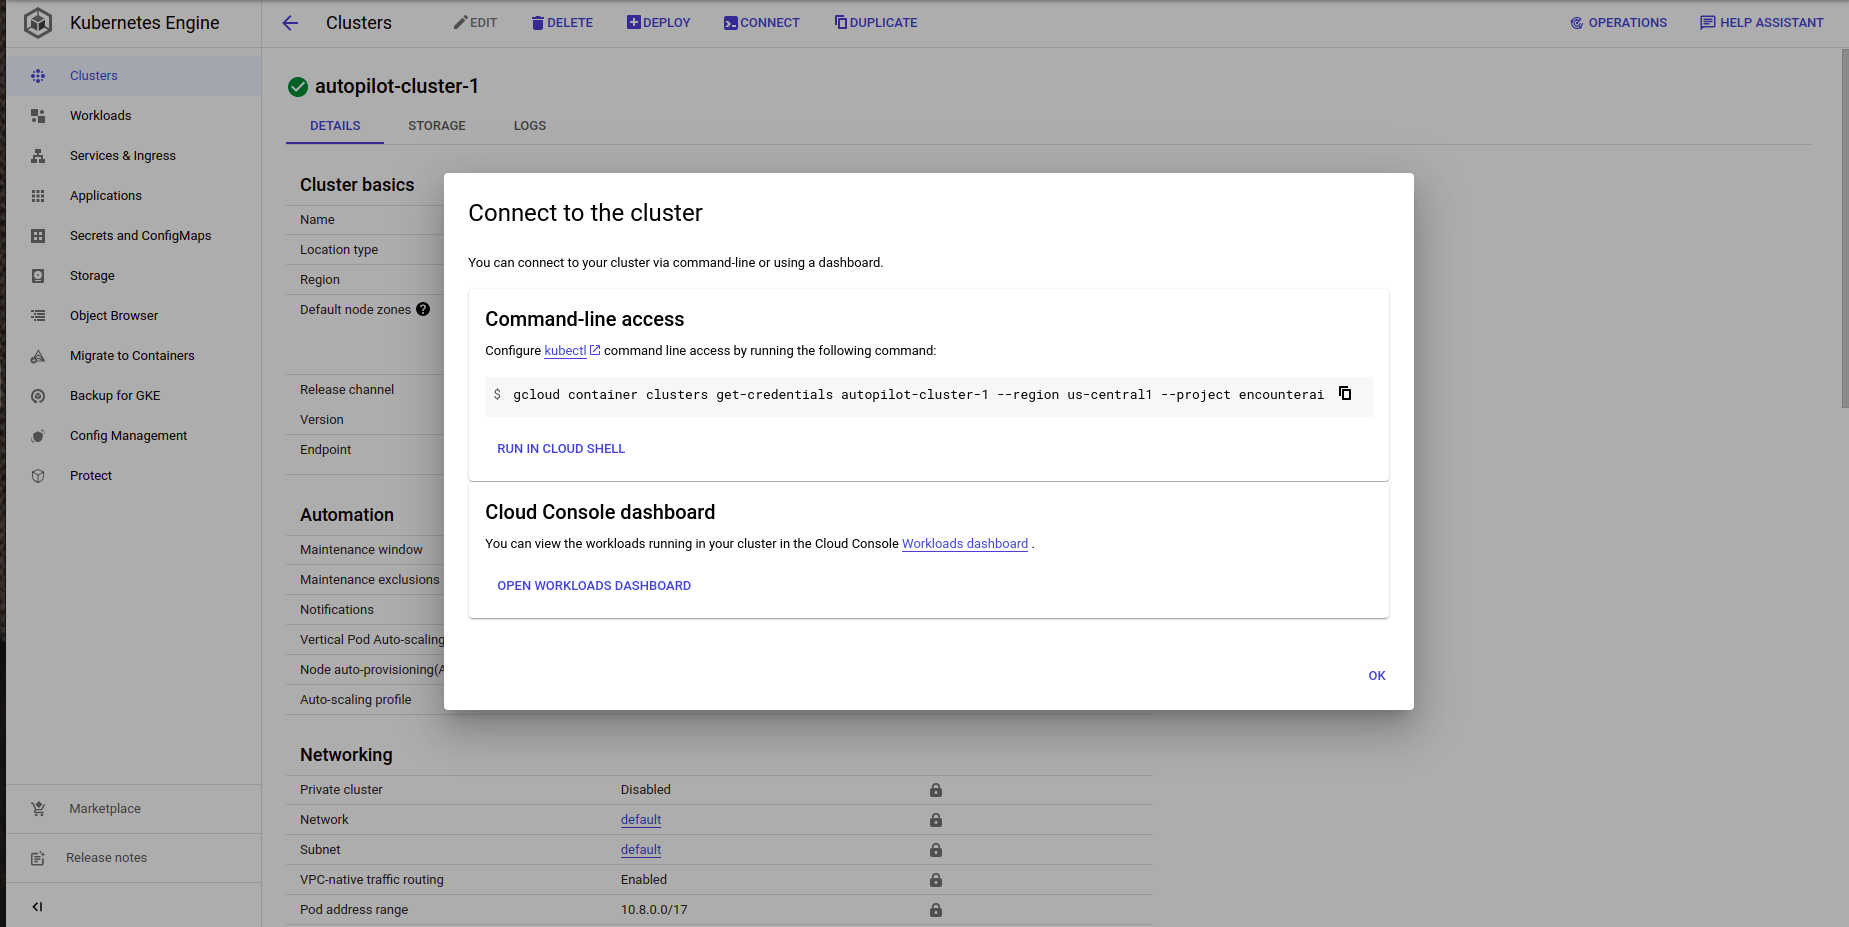
There are a few simple steps to deploy GKE AutoPilot mode.


Here is the basic deployment script.
apiVersion: apps/v1
kind: Deployment
metadata:
  name: my-deployment
spec:
  selector:
    matchLabels:
      app: metrics
      department: sales
  replicas: 1
  template:
    metadata:
      labels:
        app: metrics
        department: sales
    spec:
      containers:
      - name: hello
image: "us-docker.pkg.dev/google-samples/containers/gke/hello-app:2.0"kubectl expose deployment my-deployment --type LoadBalancer --port 80 --target-port 8080

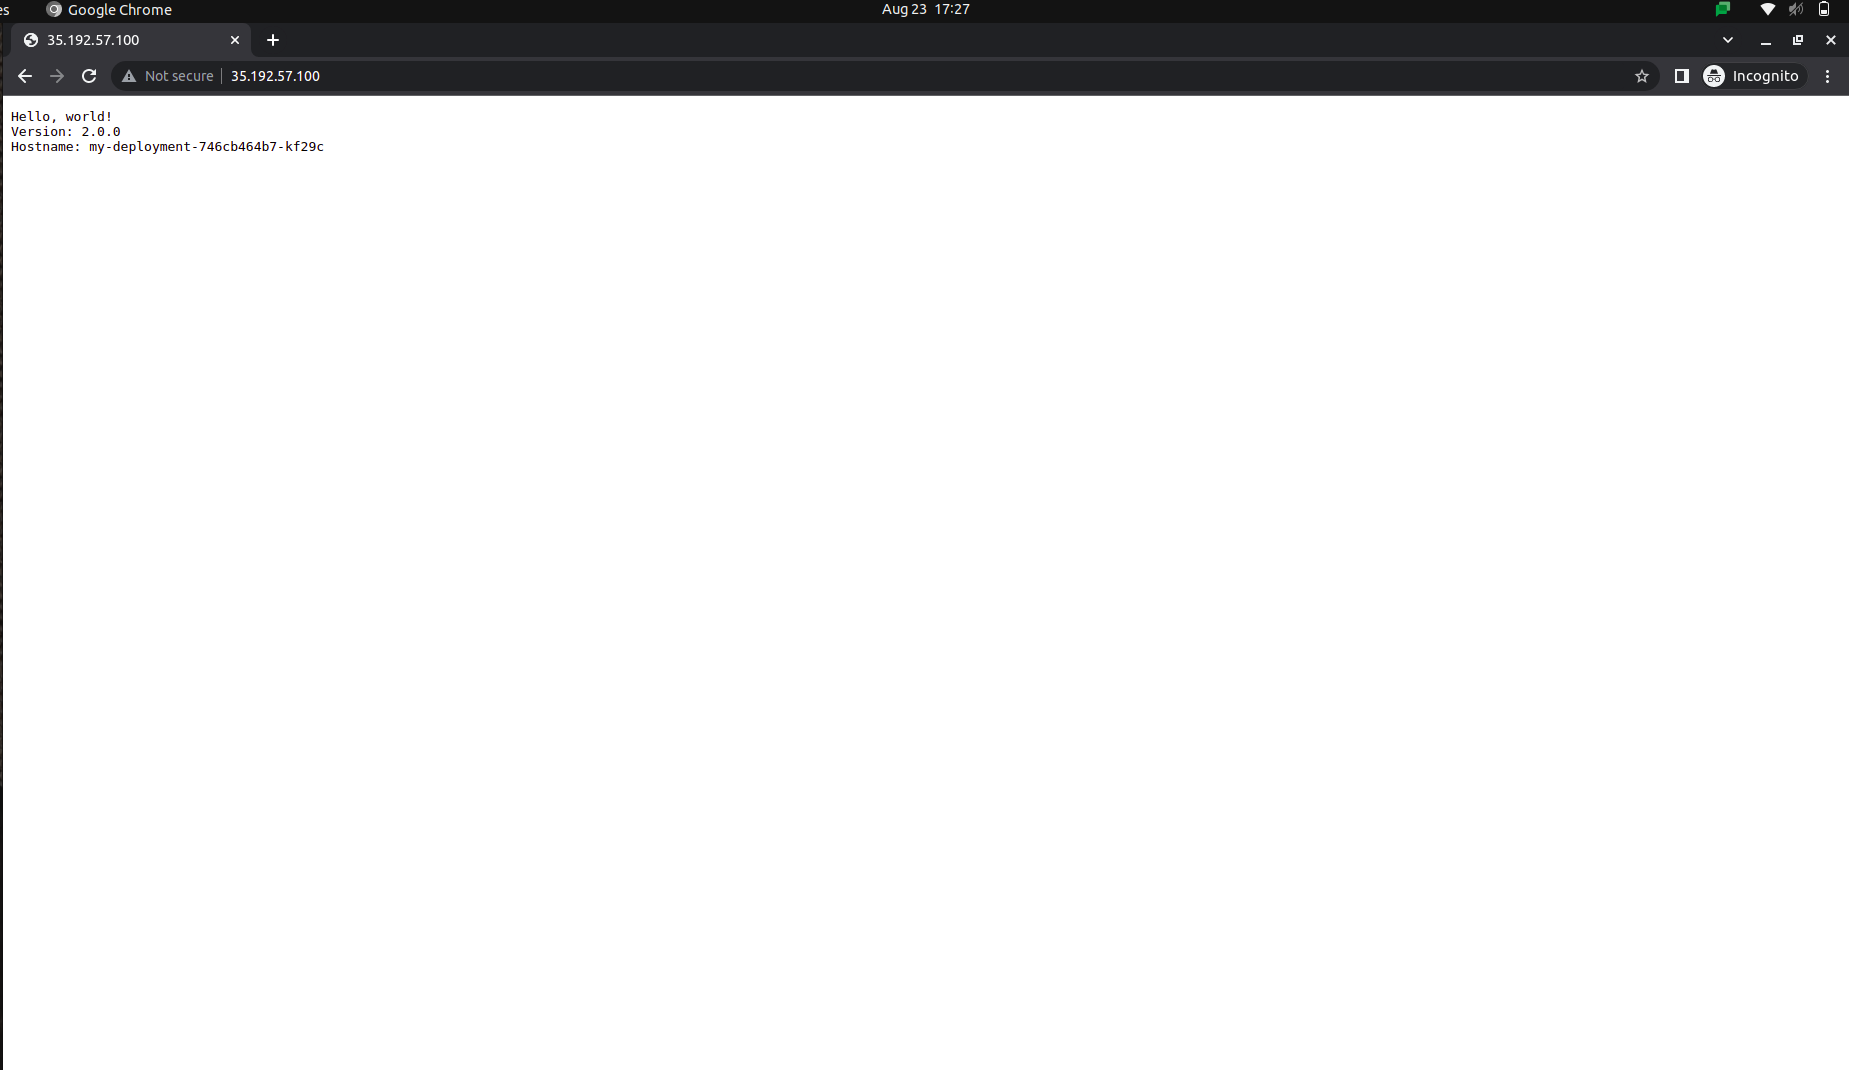
This concludes the GKE Autopilot and its mode cluster deployment process. And if we consider the cost of using GKE autopilot, and the cost of infrastructure required for the GKE cluster, autopilot clearly wins, making it quite usable. However, if you are aware of your infra and which is going to be steady, GKE is also a good option, and you’ll have to use it optimally for the best performance.
We at Seaflux are your dedicated partners in the ever-evolving landscape of Cloud Computing. Whether you're contemplating a seamless cloud migration, exploring the possibilities of Kubernetes deployment, or harnessing the power of AWS serverless architecture, Seaflux is here to lead the way.
Have specific questions or ambitious projects in mind? Let's discuss! Schedule a meeting with us here, and let Seaflux be your trusted companion in unlocking the potential of cloud innovation. Your journey to a more agile and scalable future starts with us.

Director of Engineering